SalesForce (salesforce.com) |
|
| Protocol | OAuth 2 |
| Returned Data | userId, name, email, photo |
| Requires SSL? | Yes |
How to Set Up Salesforce API for Magento
In this article, you will learn how to enable and configure your Salesforce API in order to integrate Salesforce login into Magento Social Login Pro module. Please follow the step-by-step instructions below.
Step-by-Step action:
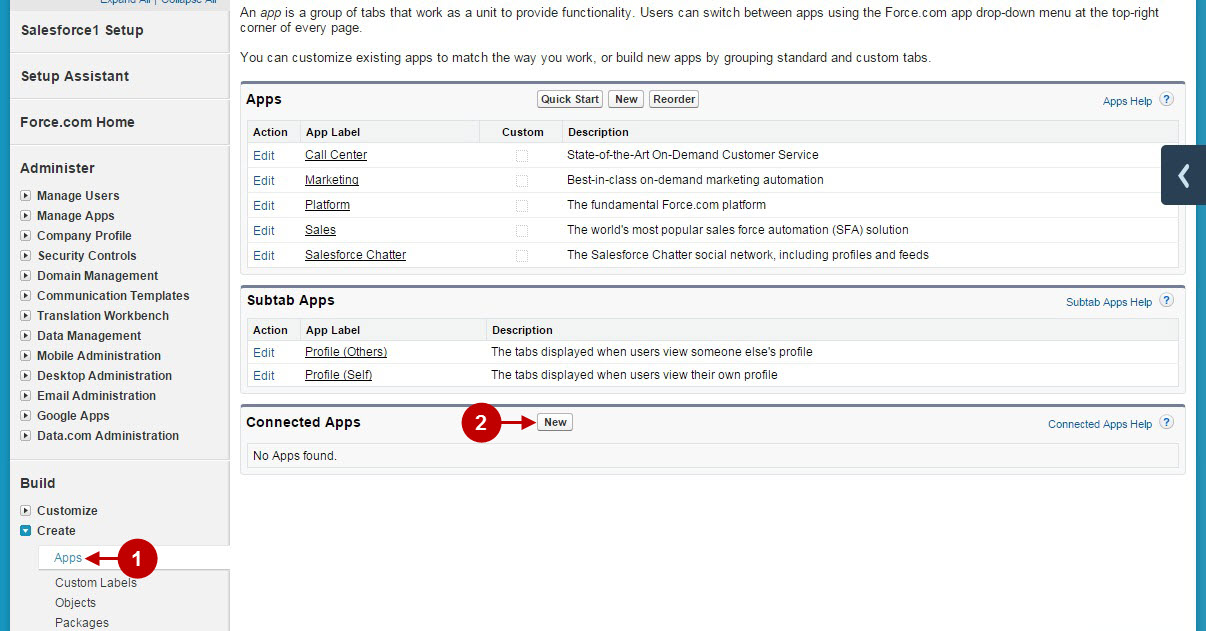
- Log into Saleforce.com/apps
- Press “New” button to start creating you Salesforce application.
Step-by-Step action:
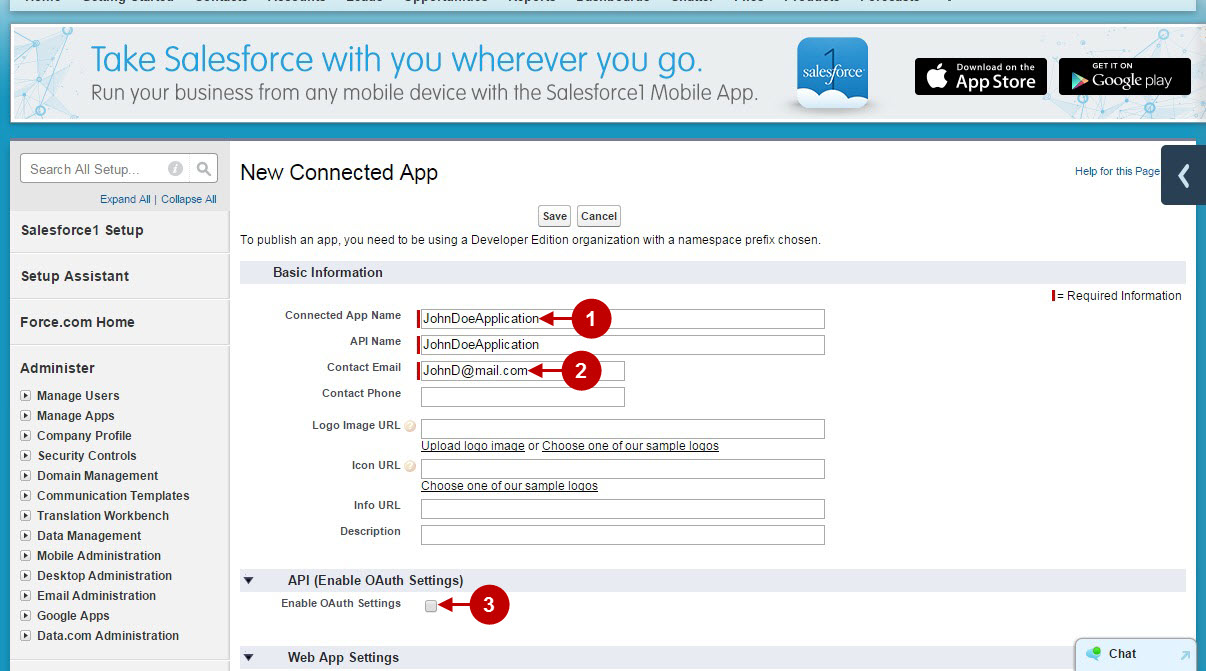
- Indicate Connected application name (“API name” field is filled automatically).
- Enter your Contact Email.
- Check “Enable OAuth settings” checkbox.
Step-by-Step action:
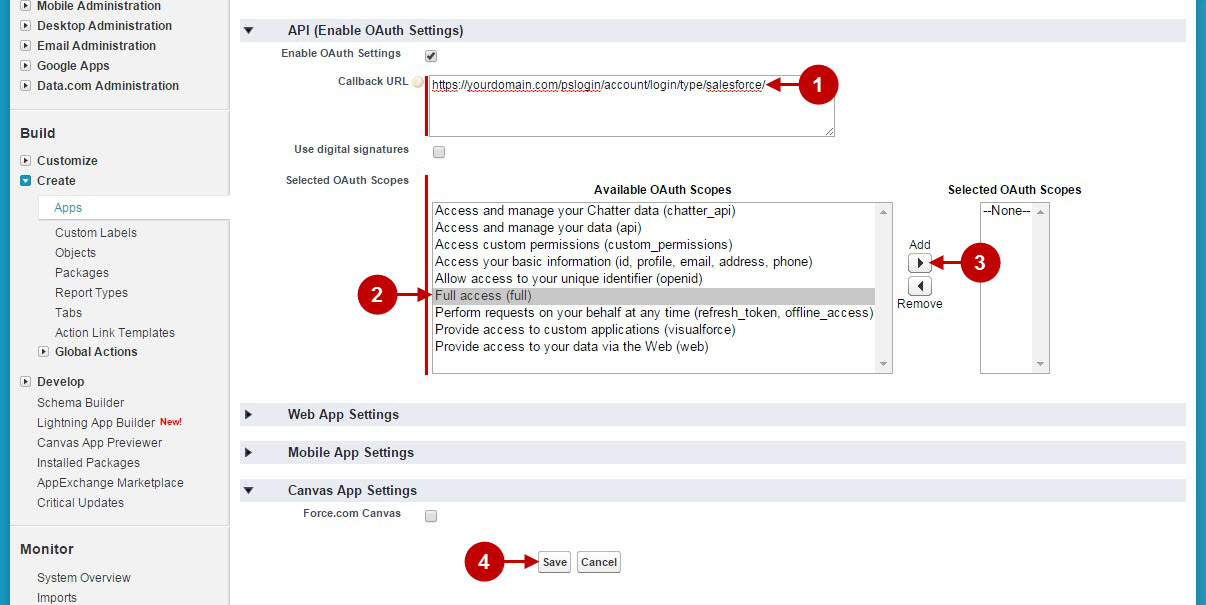
- Copy and paste callback URL that can be found in your Magento backend-> Plumrocket-> Social Login Pro-> Salesforce-> Callback URL. Remember, you need to have SSL enabled at your website, since “https” protocol is required for this network.
- Select “Full Access (full)” option from the list.
- Press “Add” button.
- Press “Save” button to save your settings.
Step-by-Step action:
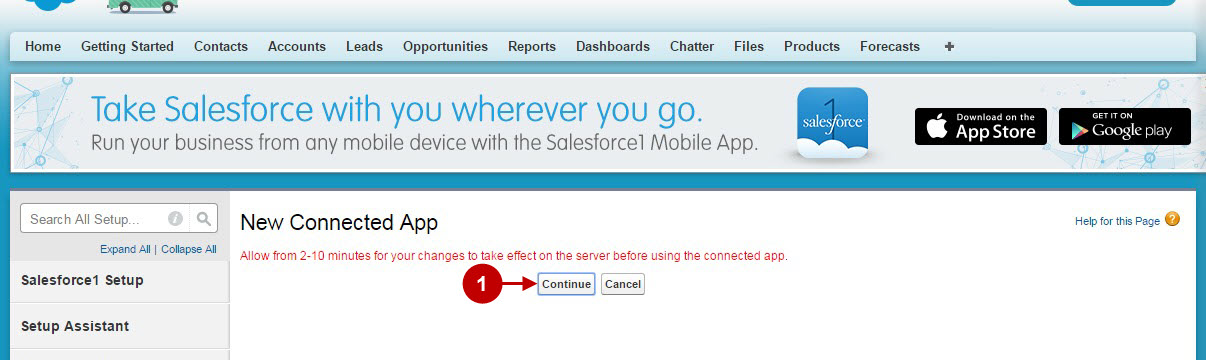
- Press “Continue” button to continue configuring your settings.
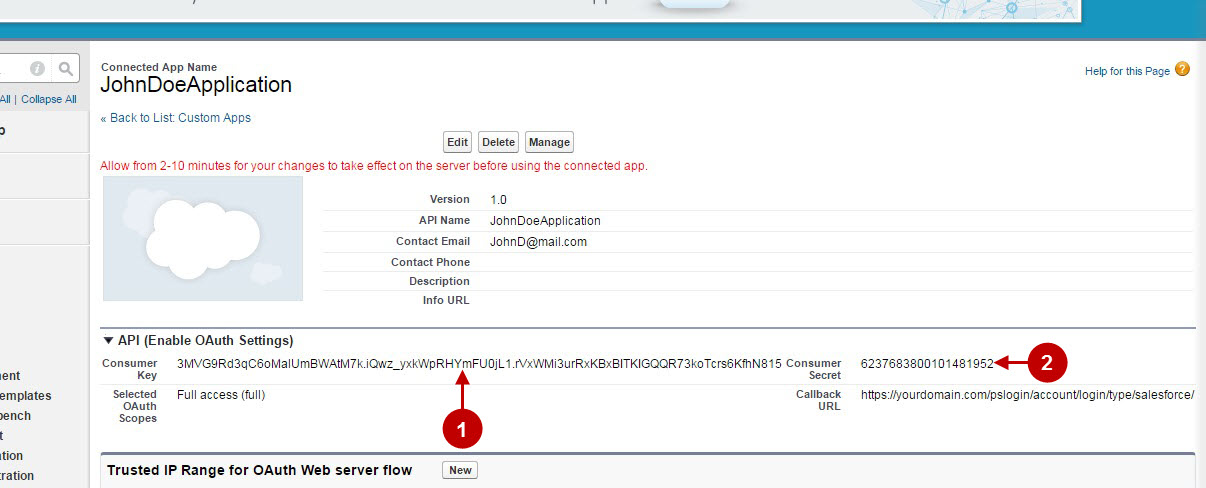
Step-by-Step action:
- Copy “Consumer Key” to your clipboard.
- Copy “Consumer Secret” key to your clipboard.
Configuring Salesforce Integration in Magento Social Login Pro Extension
In this step you must update your Magento Social Login Pro Extension configuration. In your magento admin panel, go to “System” -> “Configuration” -> “Plumrocket Inc” -> “Social Login Pro” -> “Salesforce” Tab.
Step-by-Step action:
- Paste Consumer Key into the relevant field of your “Salesforce” backend tab.
- Insert Consumer Secret key into the relevant field of your “Salesforce” backend tab.
- Press “Save Config” button to save your settings

Configuration of Salesforce Magento Social Login application is now completed.
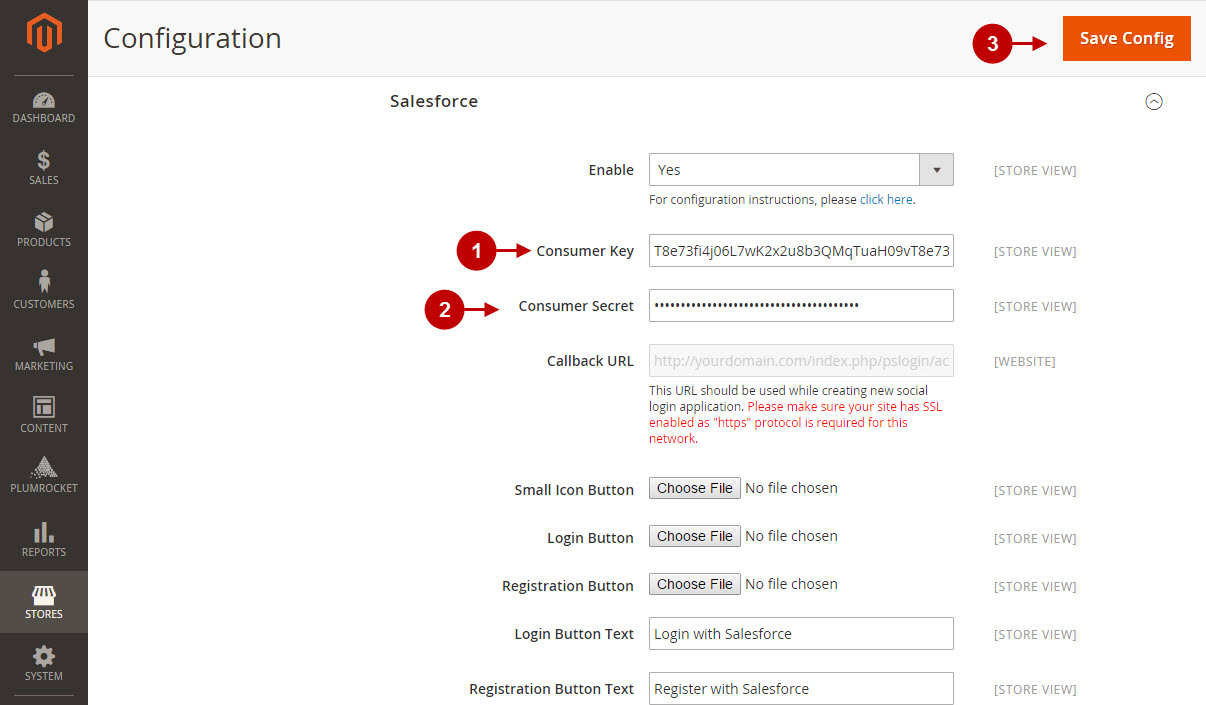
Configuring Salesforce Integration in Magento 2 Social Login Pro Extension
In this step you must update your Magento 2 Social Login Pro Extension configuration. In your magento 2 admin panel, go to “Plumrocket” tab in the main menu -> “Social Login Pro” section -> “Configuration” – > “Salesforce” Tab.
Step-by-Step action:
- Enter Consumer Key into the relevant field of your “Salesforce” backend tab.
- Enter Consumer Secret key into the relevant field of your “Salesforce” backend tab.
- Press “Save Config” button to save your settings
Configuration of Salesforce Magento Social 2 Login application is now completed.
Next Step > Return to Social Login Pro API Reference