How to Set Up Etsy API for Magento
In this article, you will learn how to enable and configure your Etsy API in order to integrate Etsy login into Magento Social Login Pro extension. Please follow the step-by-step instructions below.
Step-by-Step action:
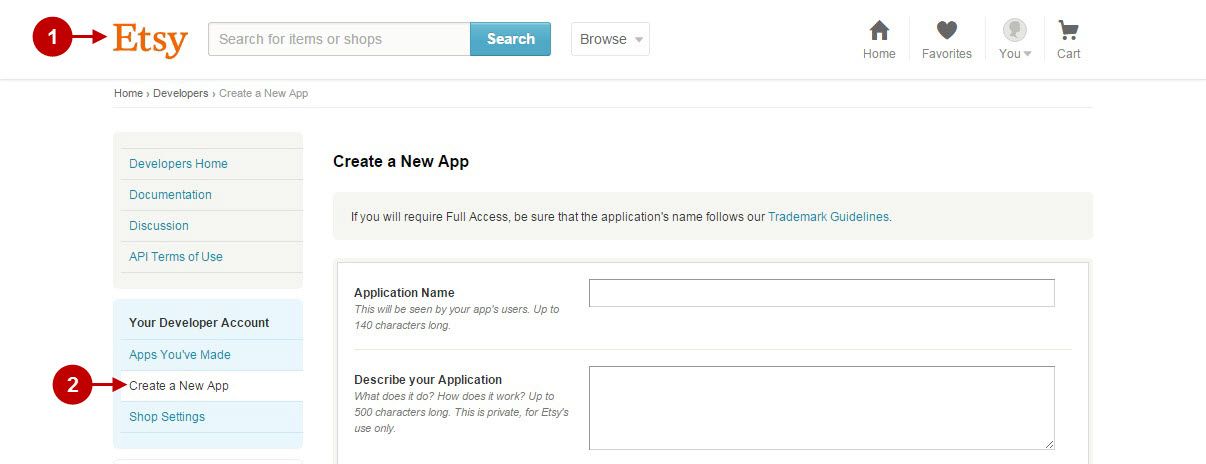
- Log into etsy.com/developers/register.
- Click on “Create a new app” button to start creating your Etsy application.
Step-by-Step action:
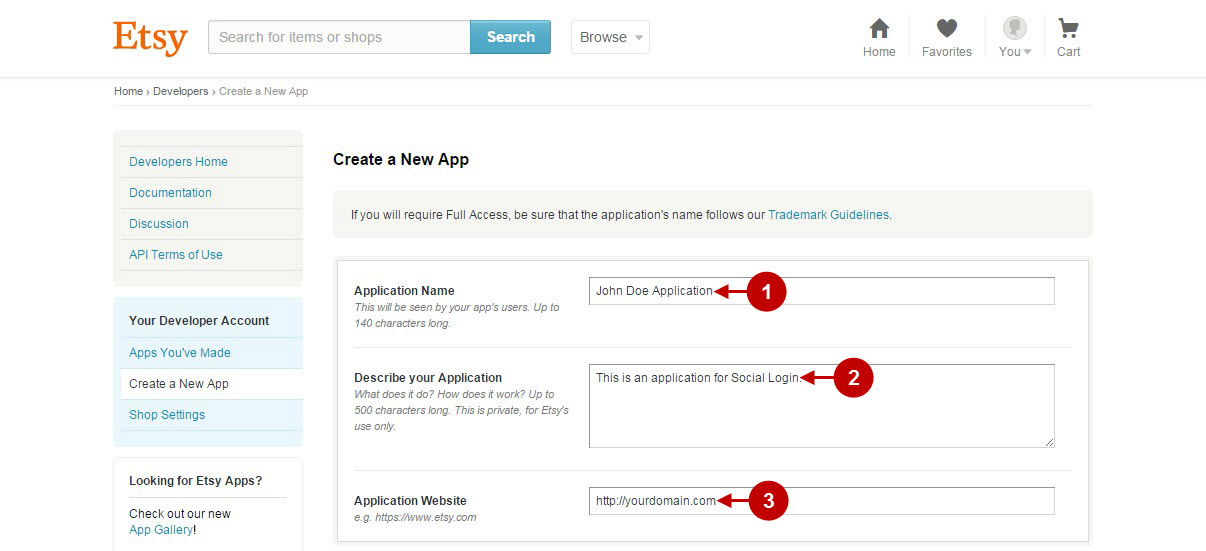
- Indicate the name of your Etsy application.
- Provide short description of your application.
- Enter your application website.
Step-by-Step action:
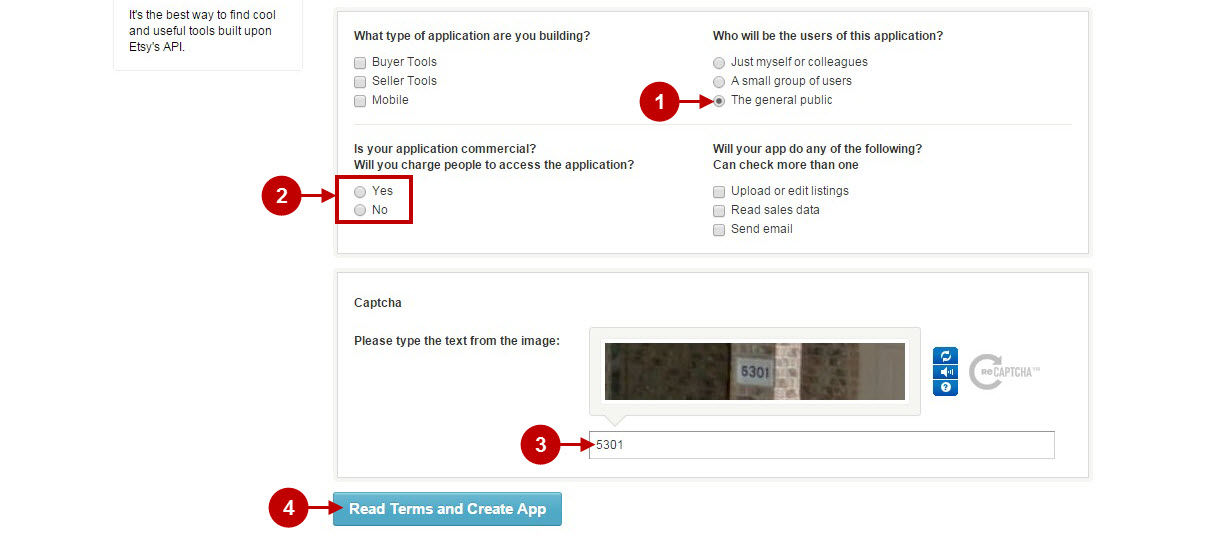
- Select you application to be available for the general public.
- At this point you will need to choose whether your application will be commercial or non-commercial, when you are ready, click on “Yes” or “No” radio button.
- Input captcha password.
- Press “Read Terms and Create App” button.
Step-by-Step action:
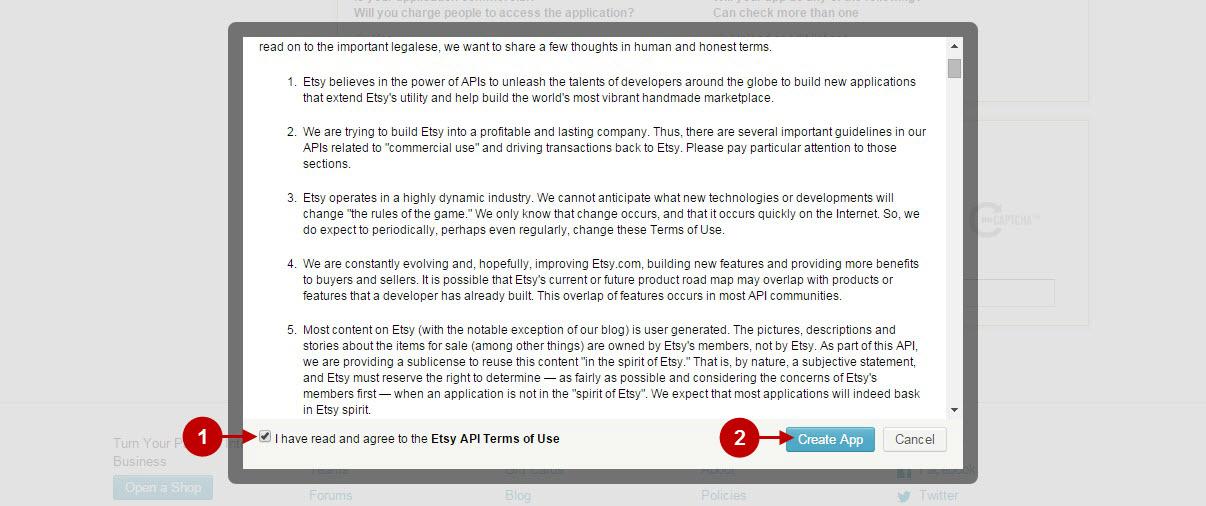
- In order to proceed please read and agree to the Etsy API Terms of Use.
- Press “Create App” button to create your Etsy application.
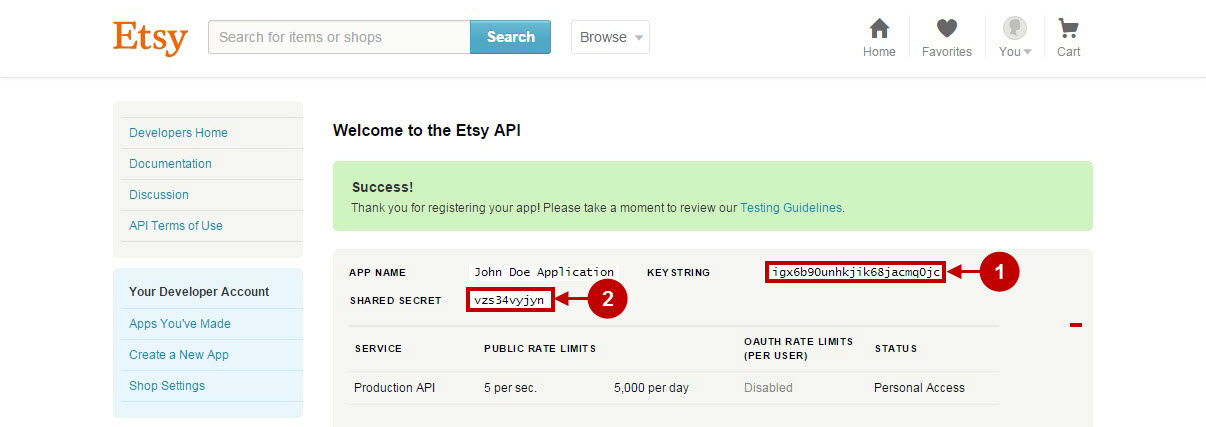
Step-by-Step action:
- Copy “KEY STRING” to your clipboard.
- Copy “SHARED SECRET” to your clipboard.
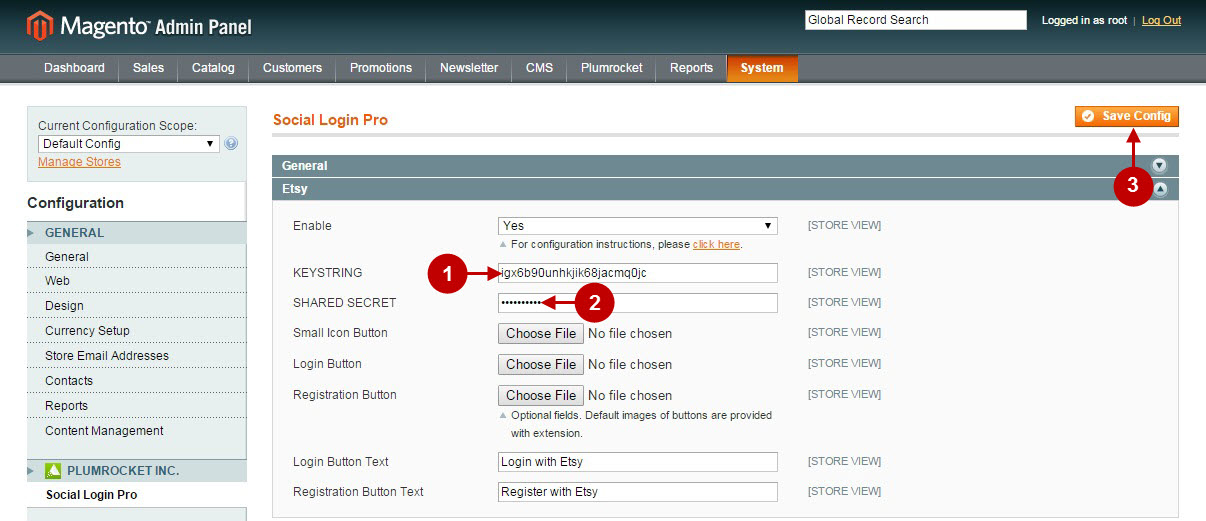
Configuring Etsy Integration in Magento Social Login Pro Extension
In this step you must update your Magento Social Login Pro Extension configuration. In your magento admin panel, go to “System” -> “Configuration” -> “Plumrocket Inc” -> “Social Login Pro” -> “Etsy” Tab.
Step-by-Step action:
- Paste KEYSTRING into the the relevant field of your “Etsy” backend tab.
- Insert SHARED SECRET key into the the relevant field of your “Etsy” backend tab.
- Press “Save config” button to save your changes.
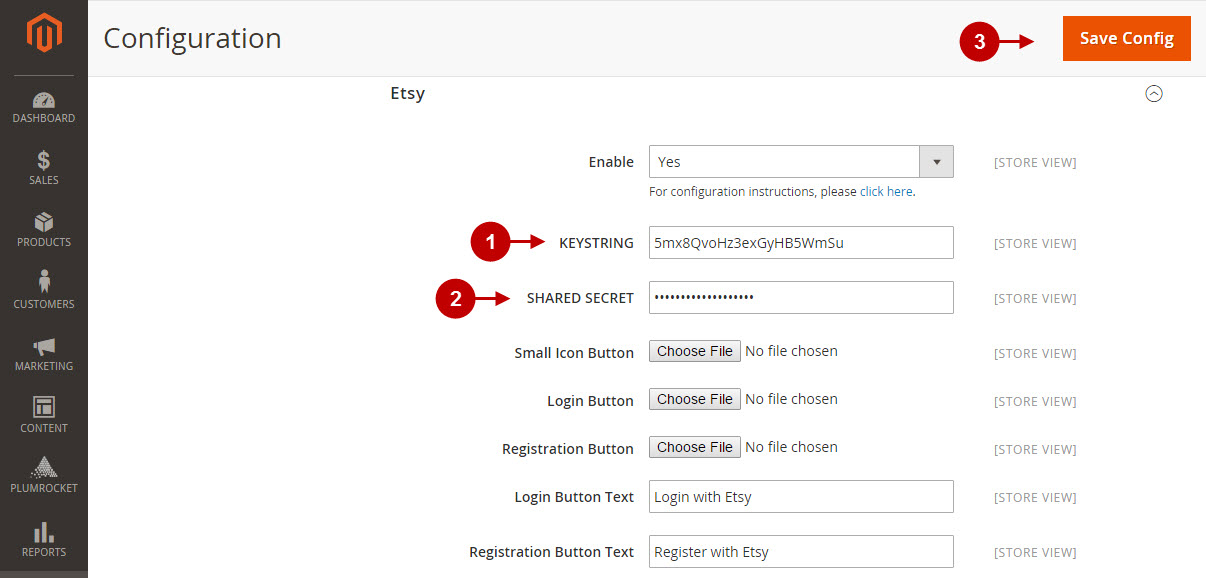
Configuring Etsy Integration in Magento 2 Social Login Pro Extension
In this step you must update your Magento 2 Social Login Pro Extension configuration. In your magento 2 admin panel, go to “Plumrocket” tab in the main menu -> “Social Login Pro” section -> “Configuration” -> “Etsy” Tab.
Step-by-Step action:
- Paste KEYSTRING into the the relevant field of your “Etsy” backend tab.
- Insert SHARED SECRET key into the the relevant field of your “Etsy” backend tab.
- Press “Save config” button to save your changes.
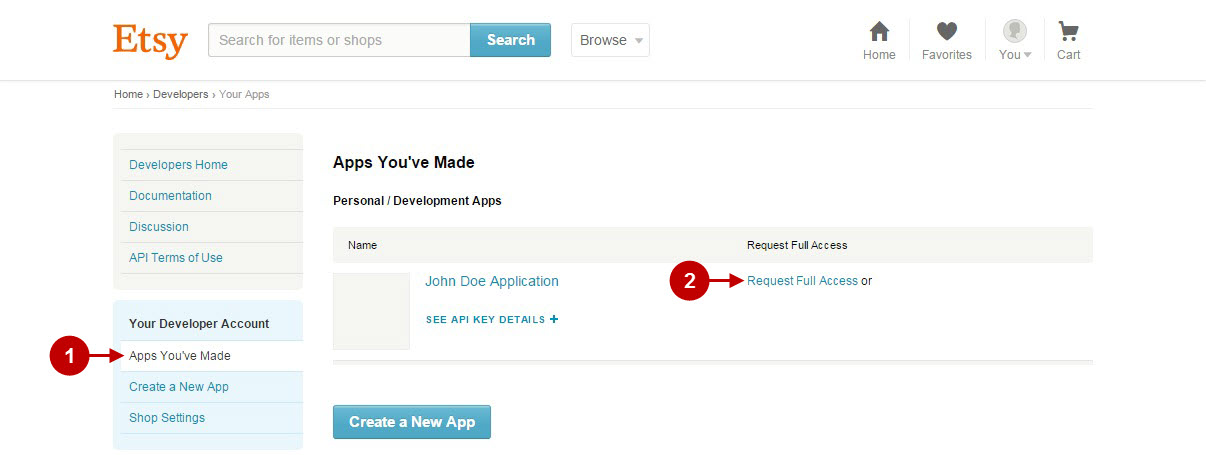
How to Set Up Etsy API for Magento – Production Mode
At this point, you will need to submit your application for production. Please follow the steps below.
Step-by-Step action:
- Click on “Apps You’ve Made” tab.
- Press “Request Full Access” link.
Step-by-Step action:
- Click on “Request Full Access” button to apply your application for production.

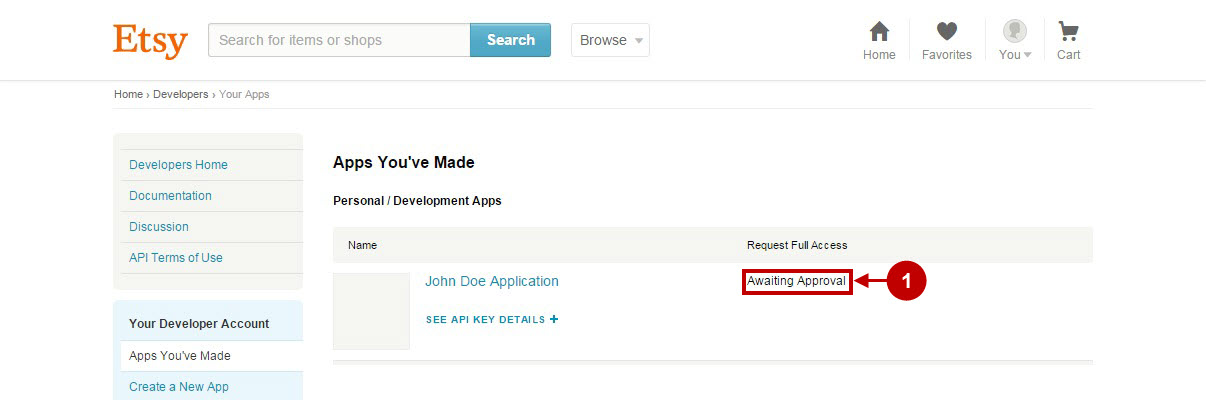
Step-by-Step action:
- Now your application will have “Awaiting Approval” status. Once it’s approved, you will receive notification from Etsy.
Configuration of Etsy Magento Social Login and Magento 2 Social Login application is now completed.
Next Step > Return to Social Login Pro API Reference