Creating Google Analytics eCommerce Tracking in Magento 2
In this article, you will learn how to create and configure Google Analytics eCommerce Tracking in the Magento 2 Affiliate Programs extension. Please, check the following step-by-step guide.
Step-by-Step action:
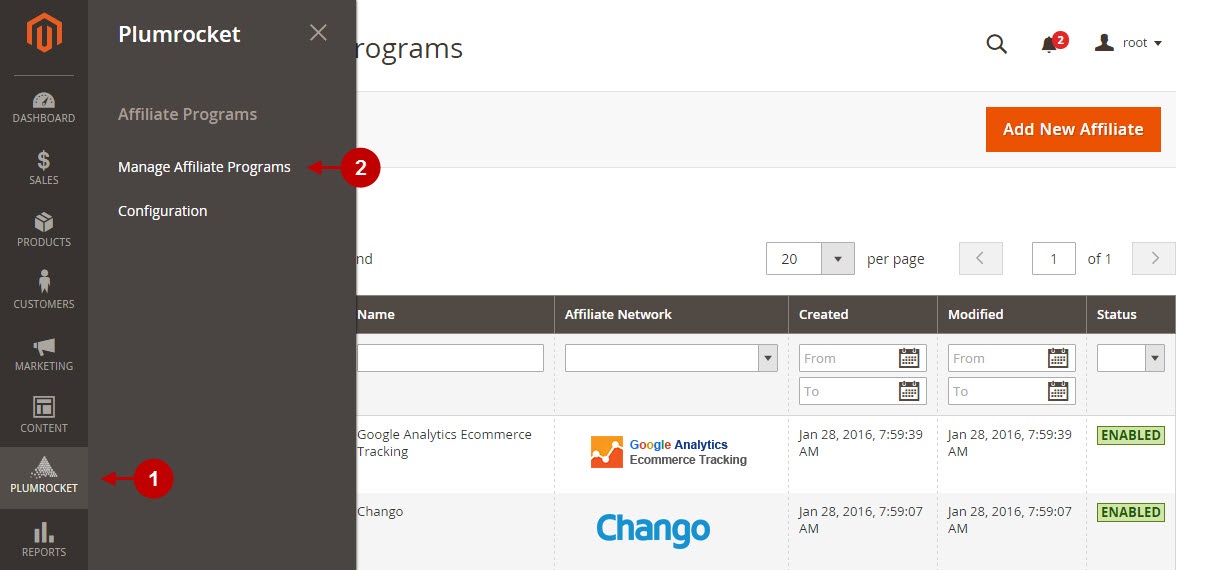
- Go to the “Plumrocket” tab in the main menu.
- Navigate to the “Affiliate Programs” tab > select “Manage Affiliate Programs”.
Step-by-Step action:
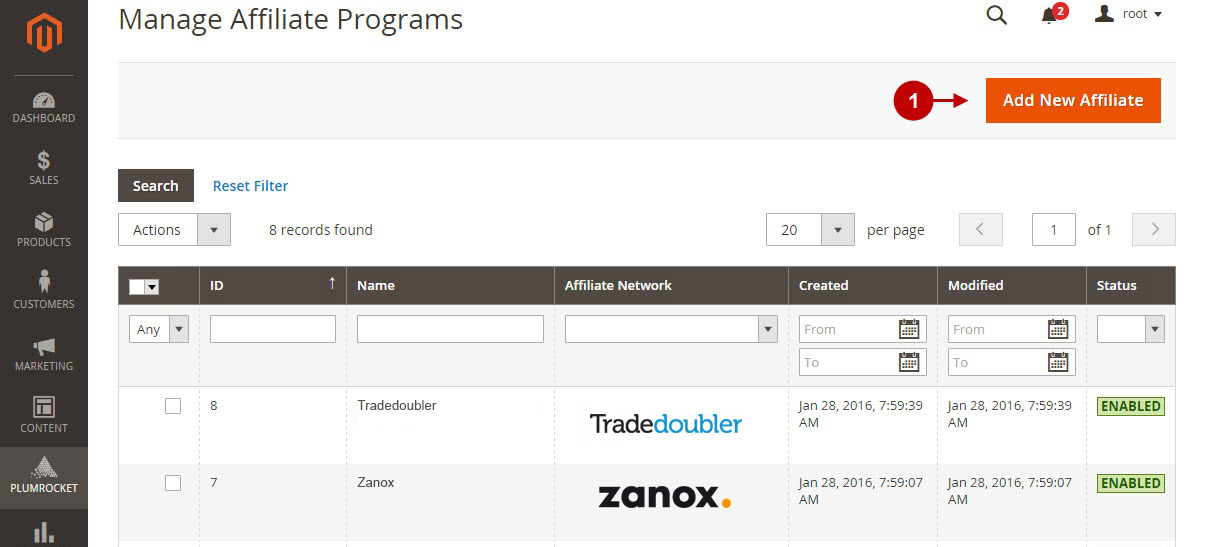
- Press on the “Add New Affiliate” button.
Step-by-Step action:
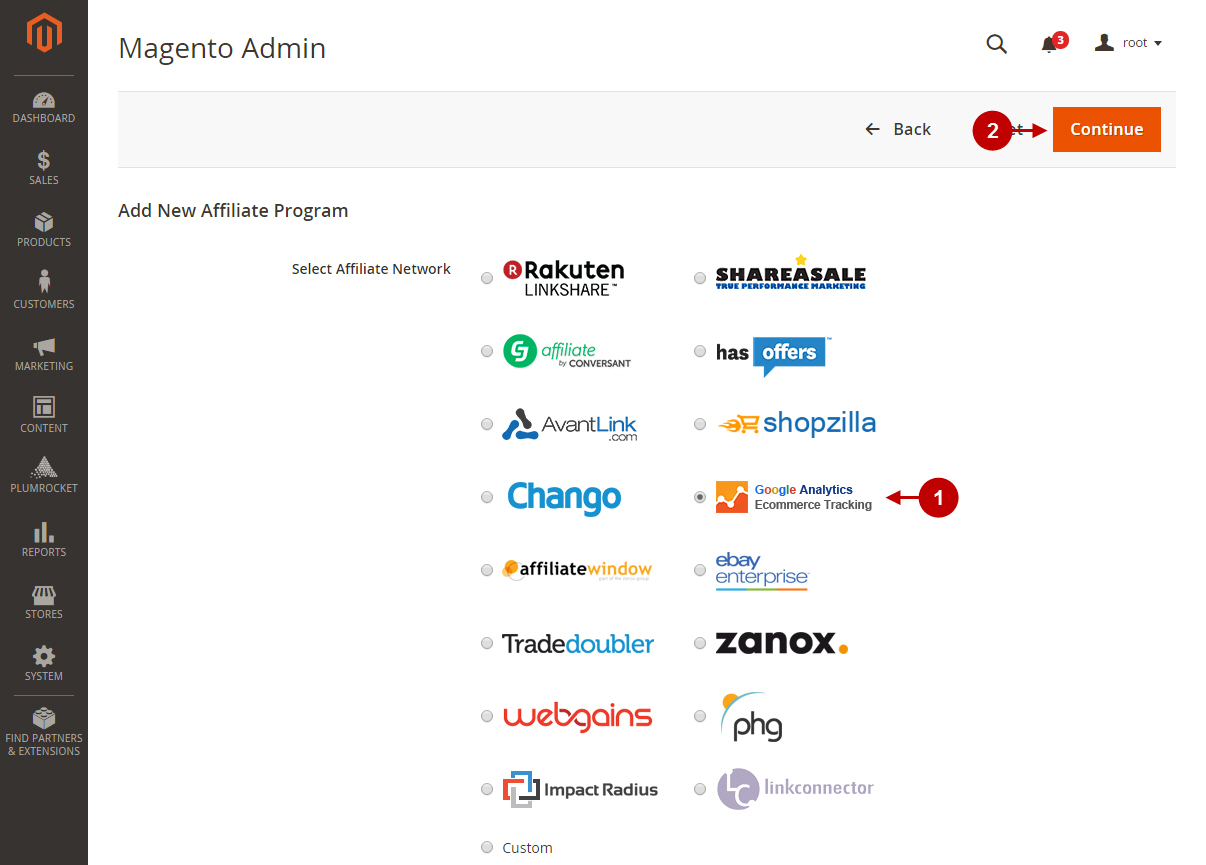
- From the list of the affiliate programs select “Google Analytics”.
- Press the “Continue” button.
Configuring Google Analytics eCommerce Tracking in Magento 2
After you enabled Google Analytics eCommerce Tracking, you need to configure it. Please, follow the steps below.
Step-by-Step action:
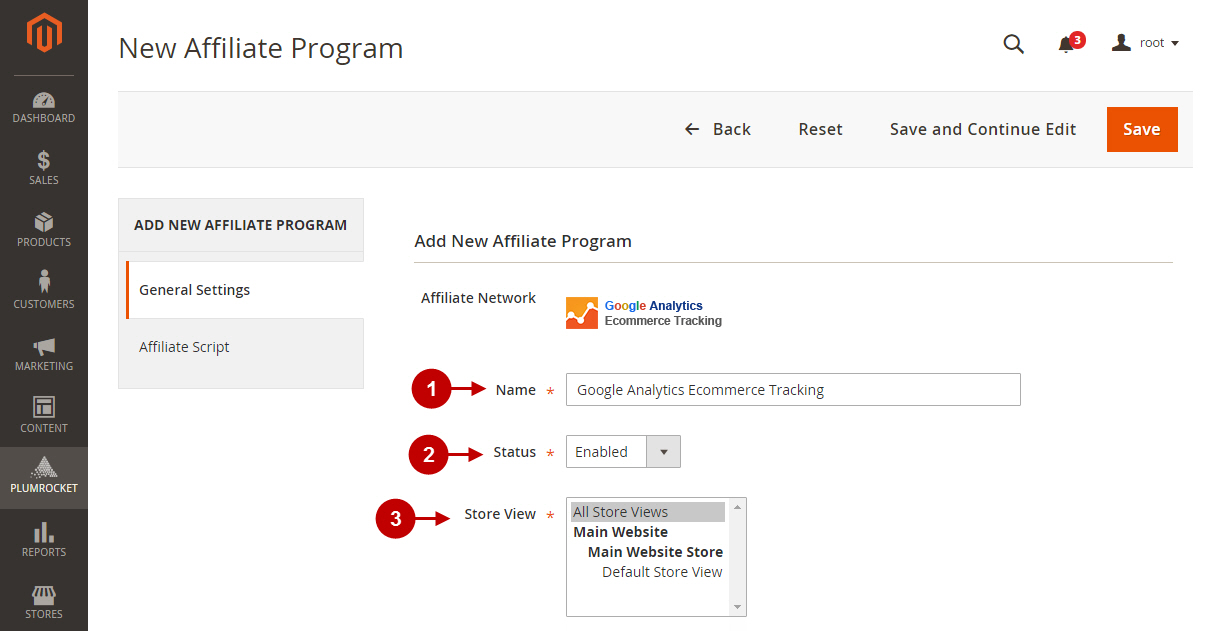
- Specify the “Name” of your Affiliate Program.
- The “Status” option allows you to enable or disable the Affiliate Program.
- In the “Store View” section you may select the store view(s) where your Magento 2 Affiliate Program will be executed.
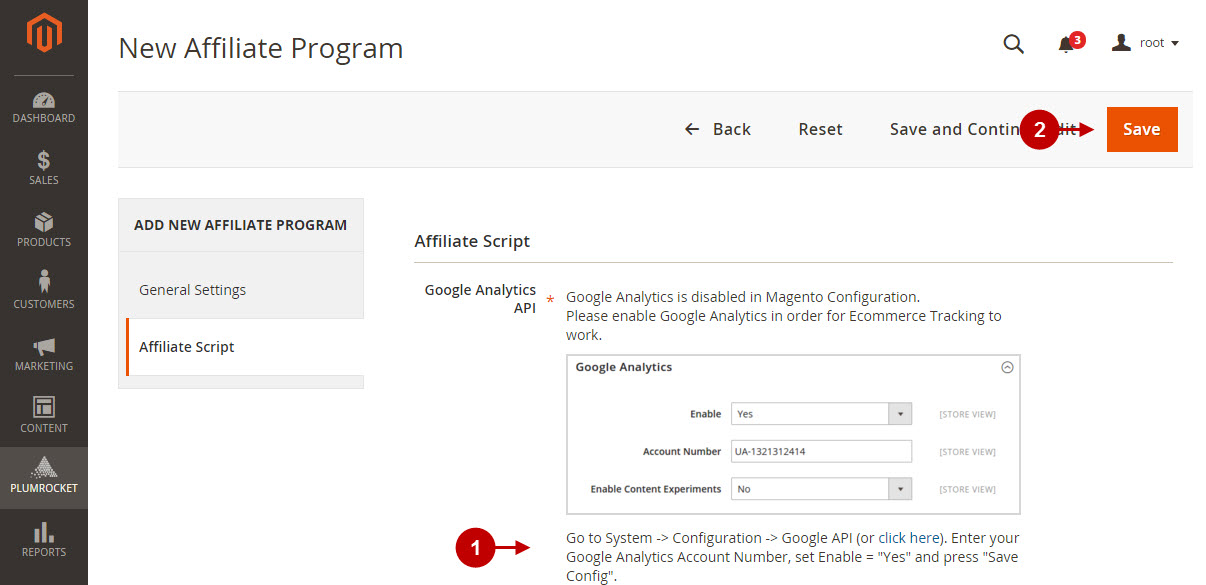
Step-by-Step action:
- “Google Analytics API” allows you to configure the Google Analytics eCommerce Tracking by following the instructions provided by the system. After you enable your Google Analytics – refresh this page.
- Once you see the success message, click on the “Save” button.
To enable Ecommerce tracking, you need to sign in to your Google Analytics account and follow the steps below.
Step-by-Step action:
- In your Google Analytics account press on the “Admin” button.
- Select the “View Settings” option.
- Change the Ecommerce tracking switcher to “On” in the “Ecommerce Settings” section. When the change has been done, press the “Save” button to save these settings.

Testing Google Analytics eCommerce Tracking Code in Magento 2
In order to test and check whether your Magento 2 Affiliate Program has been installed properly, please check the instructions below.
Step-by-Step action:
- Create a test order at your Magento 2 frontend and proceed to Order Success page.
- Using your browser’s Developer Tool (“F12” key on your keyboard) open search bar (“Ctrl+F” keys on your keyboard) and look for the code which contains var _orderData = {“order_id”: .
- The part of the code will appear.

If you locate the part of the code by Google Analytics – this means that your Google Analytics eCommerce Tracking has been set up correctly. Now log into your Google Analytics account and verify that transactions are being tracked correctly.