Configuring Product Filter v1.x Extension
Here you will learn how to configure our Magento Layered Navigation v1.0.
Step-by-Step action:
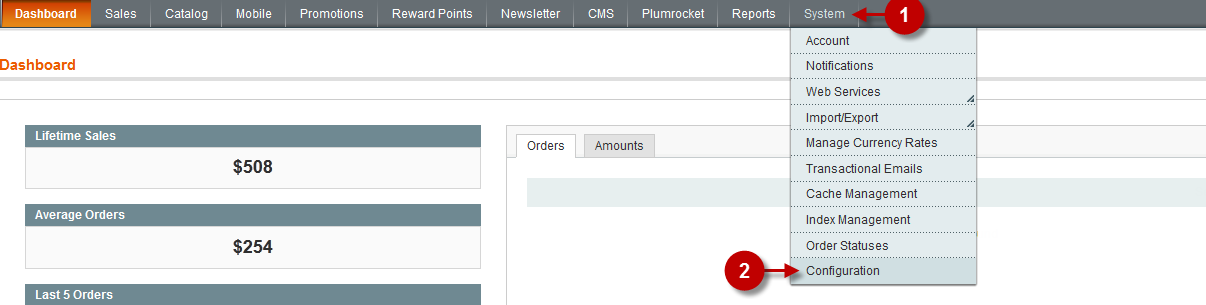
- Press the “System” tab in the menu.
- Select “Configuration”.
Step-by-Step action:
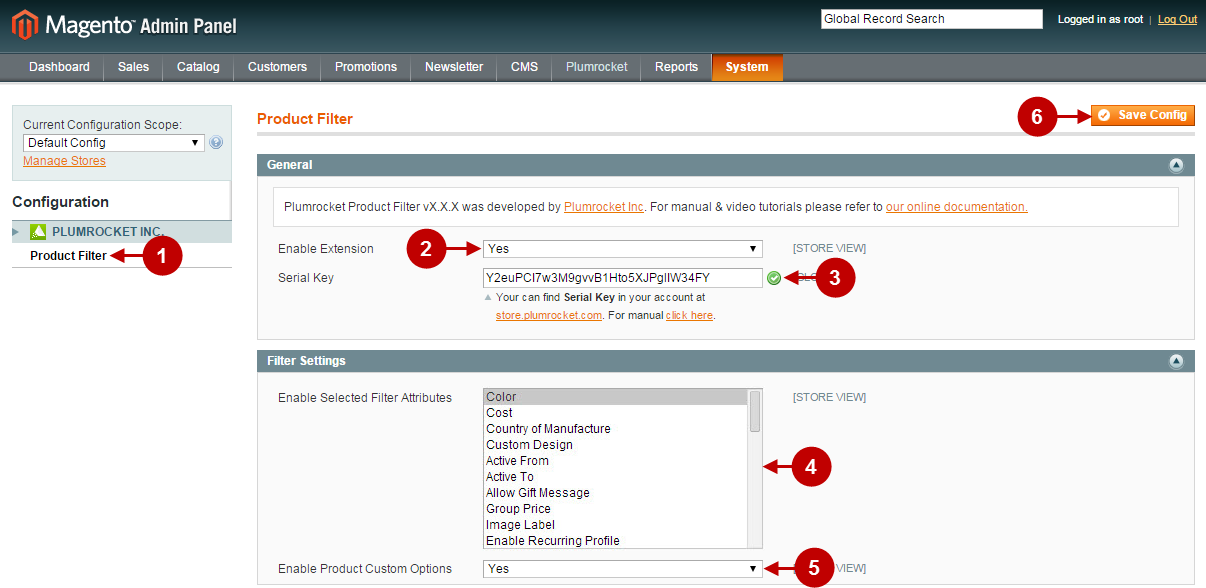
- Select “Plumrocket Product Filter” in the left menu.
- Option “Enable Plumrocket Product Filter”: Select “Yes” in the drop-down menu in order to enable the Layered Navigation Extension or “No” if you want to disable the extension.
- Option “Serial Key”: enter unique serial key provided after the purchase for legitimate and proper functioning of your extension. Note: In most cases this field will be pre-filled with serial key automatically and the green check mark will be displayed. Otherwise please read article Serial Key Activation in order to find and paste your serial key manually.
- Option “Enable Selected Filter Attributes”: Select product attributes that should be used as filters on product list page.
- Option “Enable Product Custom Options”: Enable/Disable product custom options that should be used as filters on product list page.
- Press “Save config” to save the changes.
New filterable attributes should be added directly in magento. Read magento documentation here.
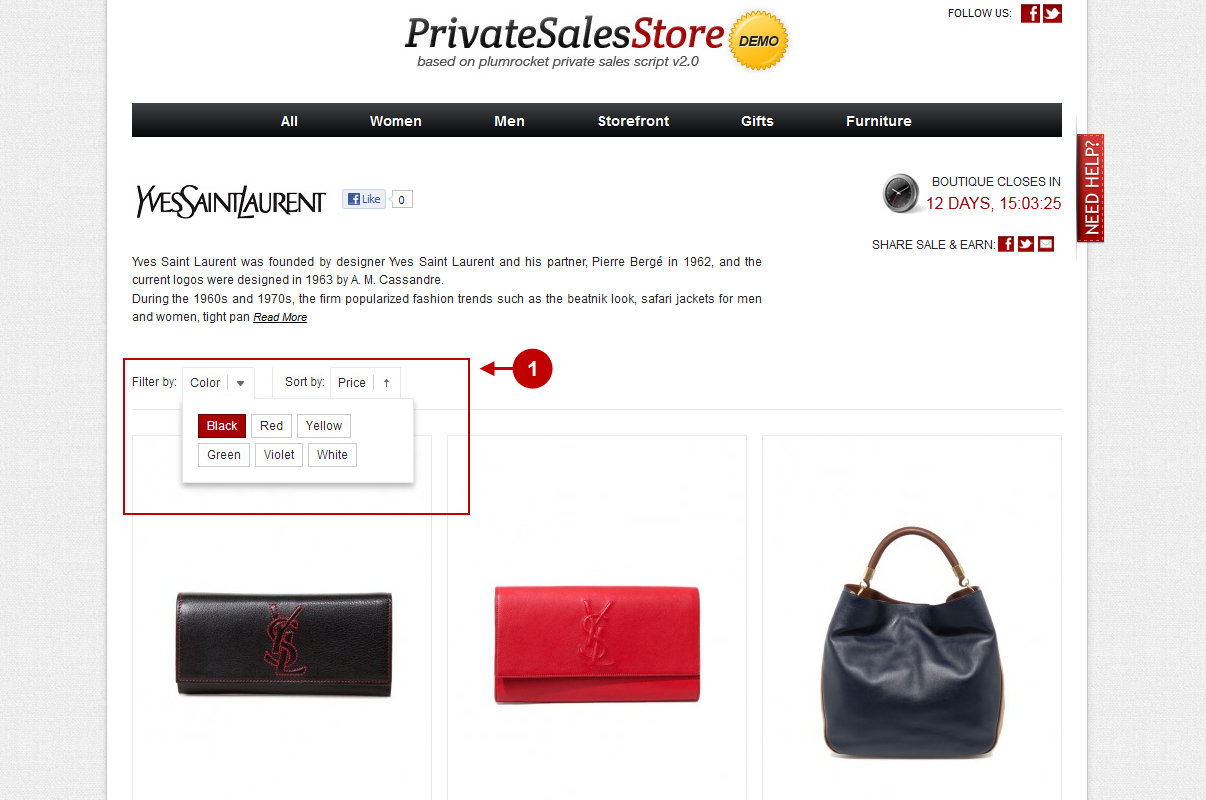
The screenshot below represents the Magento Improved Navigation in the front-end. To learn how to set attributes for the Magento Layered Navigation to sort items out, read about Adding products to a boutique.
Detailed description:
- This is how the enabled Magento Layered Navigation looks like in the front-end.
Was this article helpful?