Product returns are one of the most essential functions in eCommerce. Statistics show that 62% of customers are more likely to buy products at online stores if they can return items (Richpanel). This fact can be easily explained: customers can’t try on, feel, or test your product before the purchase, so they need to be able to return it if it doesn't live up to expectations.
So, how can you implement returns (RMA) in your Magento 2 store?
To begin with, this feature comes out of the box only in Adobe Commerce (paid version of Magento 2). However, if you want to enable RMA in Magento 2 Open Source, you should use Plumrocket’s RMA extension for Magento 2.
In this article, you will learn how to enable RMA (Return Merchandise Authorization) in Magento 2 using the Plumrocket RMA extension. This will ensure a seamless item return process on your store, which in turn increases sales and customer satisfaction.
Step 1: Enable Magento 2 RMA settings
To enable RMA settings in Magento 2, first of all, install the RMA extension. Then, in the Admin sidebar, go to Plumrocket > RMA > Configuration, and set the “Enable Extension” setting to Yes, enter your Serial Key and save configurations.

Step 2: Configure Resolutions
You can set up as many return resolutions as you need to suit your unique business principles. The most common resolution types are:
- Refund
- Partial refund
- Exchange
- Store Credit
- Replacement
- Repair
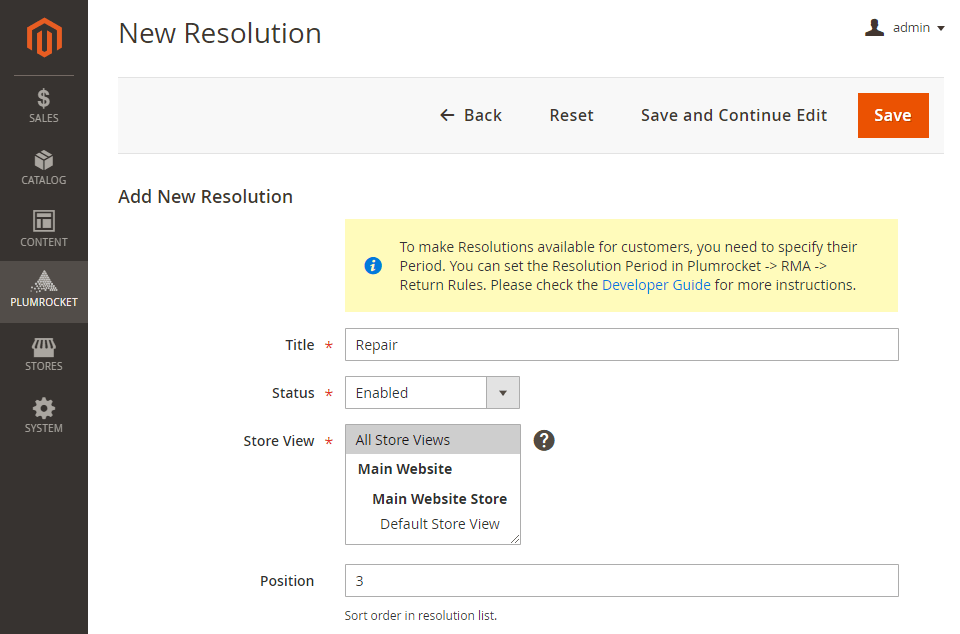
In the Admin sidebar, go to Plumrocket > RMA > Resolutions. Click “Add New Resolution” and configure it by setting the title (resolution type) and status (enabled), choosing the store view, and setting the sort order in the resolution list. You can create as many resolutions as you need.
Step 3: Configure Return Rules
Return rules allow you to specify what items are eligible for return, for which customer groups, and for what period.
To set the rules, go to Plumrocket > RMA > Return Rules and click “Add New Rule”.
Specify all the details, including the rule name, websites and customer groups that are subject to it, a period for eligible resolutions (return, exchange, repair, etc.), and conditions.
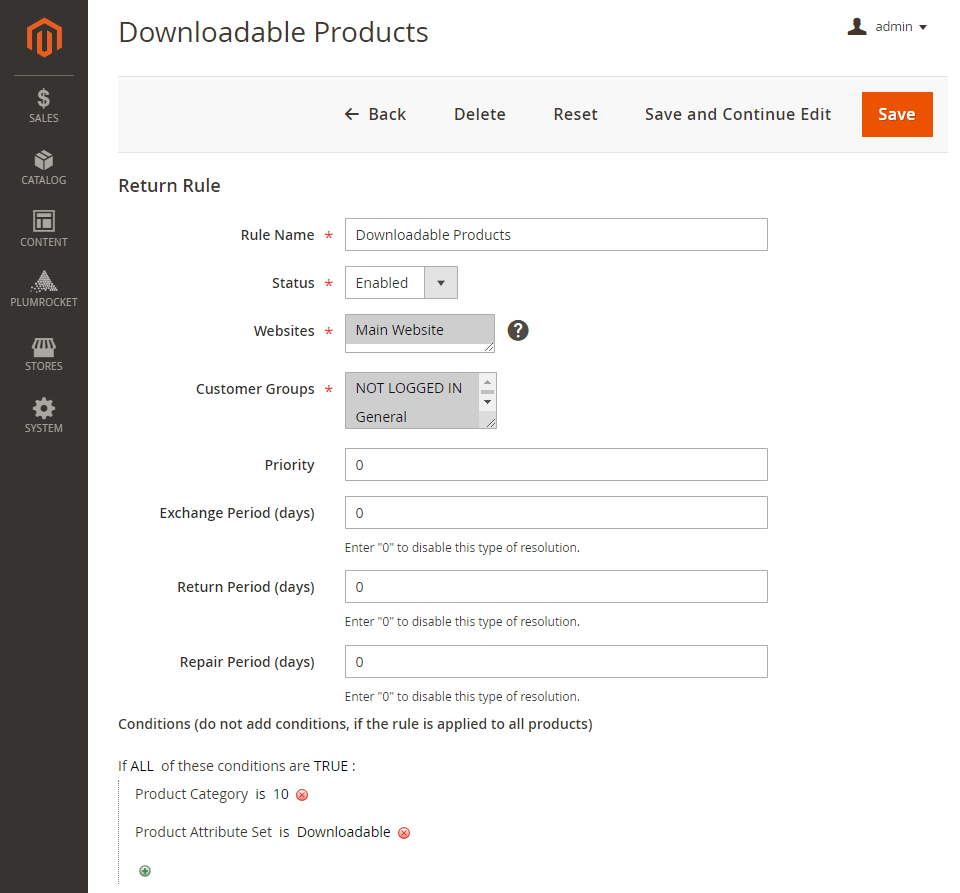
Conditions allow for maximum flexibility in configuring products that are eligible for the return: you can enable the rule for all products on your store or only for specific products or categories using any product attribute. Create as many rules as you need to cover all types of products and returns.
Step 4: Optional Configurations
The RMA extension also allows you to ask customers for the reason why they return products and the item's condition.
In order to configure Return Reasons, go to Plumrocket > RMA > Return Reasons. Specify the title, set the status to Enabled, select store view(s), position in the list of reasons, and who pays for the shipping. The information about the payer will be displayed to the customer or admin when creating or viewing the RMA.
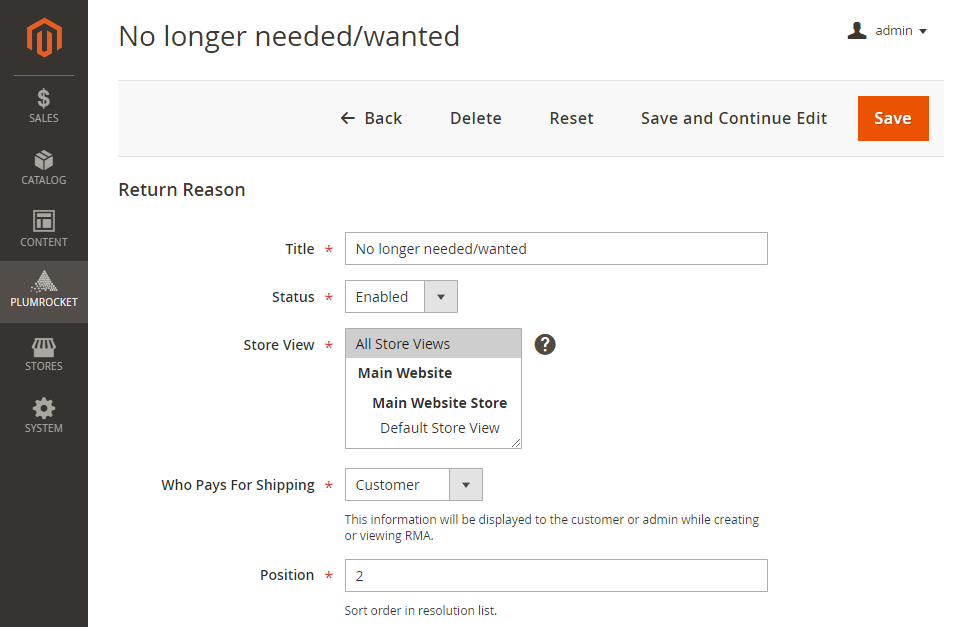
This setting allows you to tailor returns to the specific reason, for example, you can pay for the return shipping if the wrong item was sent or it was damaged while requesting customers to pay for other reasons not related to the company’s mistake.
In order to configure the item conditions list, go to Plumrocket > RMA > Item Conditions and create item conditions for customers to choose from.
Here’s how you can enable RMA in Magento 2 extension and set it up, so that your store can offer returns, refunds, and exchanges for customers using the most flexible rules and conditions reflecting your business needs.
If you still need any assistance, please refer to the Magento 2 RMA documentation or contact us anytime.
|
