How to Create GetResponse API for Magento 2
In this article, we will cover how to set up Magento 2 GetResponse integration for Newsletter Popup plugin. Please, check the following step-by-step guide.
In this section, you will learn how to get your GetResponse API Key. Please, follow the instructions below.
Step-by-Step actions:
- Log in to your GetResponse account at www.getresponse.com.
Step-by-Step actions:
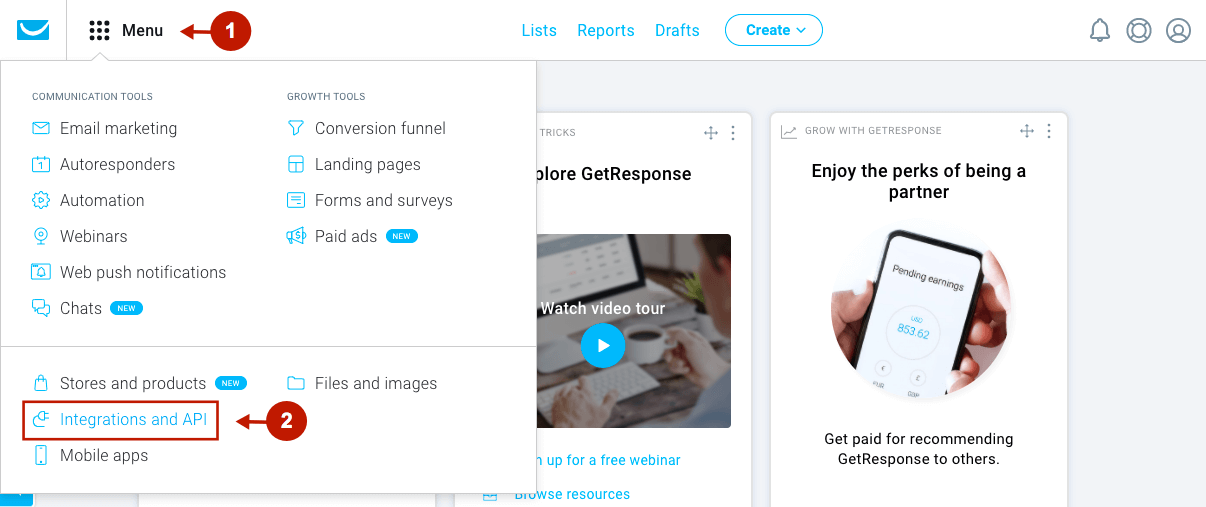
- Go to the Menu in the upper left corner of the page.
- Select Integrations and API.
Step-by-Step actions:
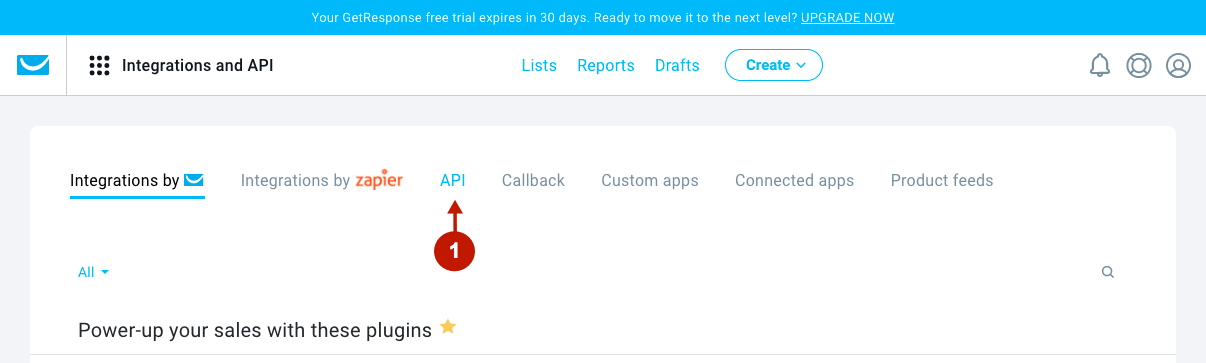
- Go to the API section.
Step-by-Step actions:
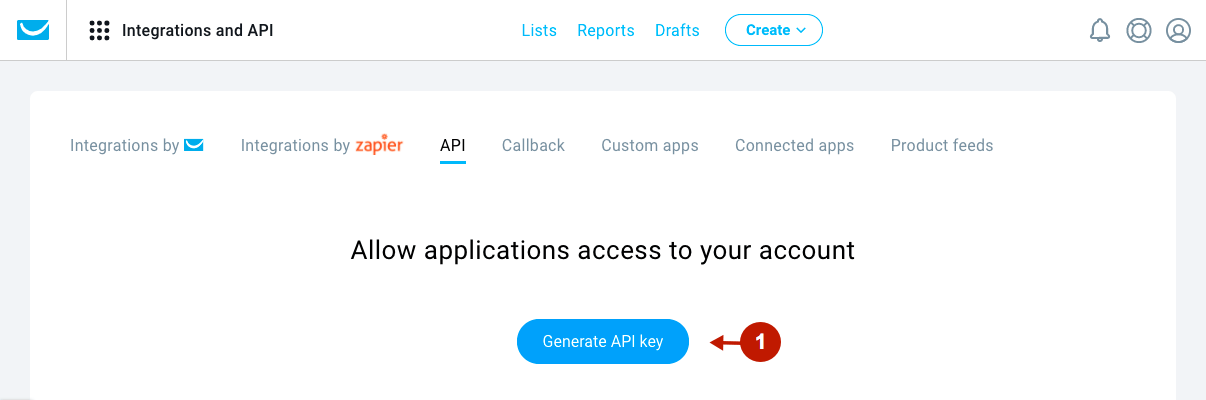
- In order to obtain your API key, click on the Generate API key button.
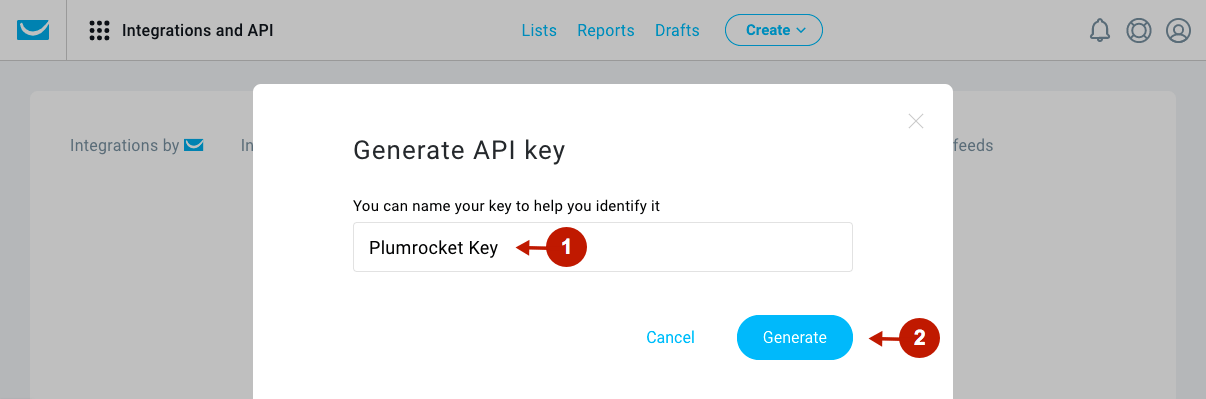
Step-by-Step actions:
- Enter the name for your new API key in order to easily identify it.
- Click on the Generate button.
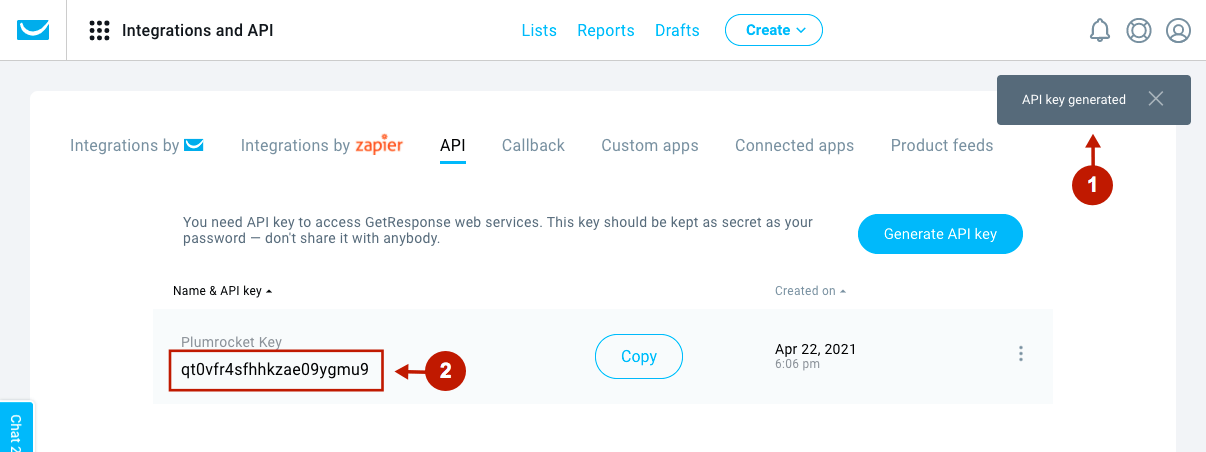
Step-by-Step actions:
- The confirmation dialog will appear if the key was generated successfully.
- This is your API key. Please note, that for security reasons, API keys that are not used expire after 90 days. If that happens, you will need to generate a new key to use GetResponse API.
Configuring GetResponse API in Magento 2 Newsletter Popup Extension
In this section of the article, you will learn how configure GetResponse API integration in your Magento 2 Newsletter Popup extensio. Please, use the following step-by-step guide.
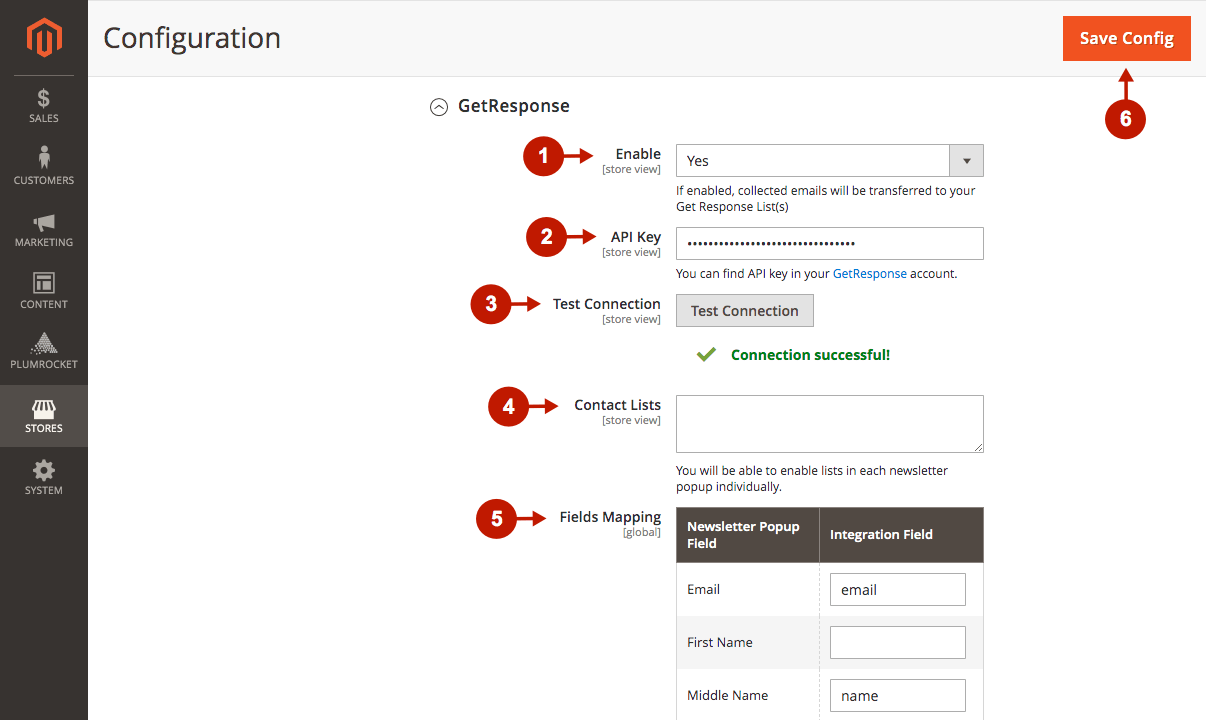
In the main Magento menu, go to the Plumrocket tab > Newsletter Popup > Configuration. Then, scroll down to the Integrations > select GetResponse.
Step-by-Step actions:
- “Enable“: in this field, you can enable or disable the GetResponse integration with your Magento store. Set to “Yes” in order to complete further configurations.
- “API Key“: paste the API Key you have received in the GetResponse account.
- Click on the Test Connection button to test the connection with GetResponse API. The green confirmation checkmark will be displayed if the connection is successful.
- “Contact Lists“: in this field, you can enable lists in each new popup individually.
- “Fields Mapping“: this field lets you set up a relation between your Newsletter Popup Fields and GetResponse List Fields. This will allow you to save your newsletter subscribers’ additional data (including Coupon Codes) directly to your GetResponse account.
- Press the Save Config button to save your configurations.
Was this article helpful?