In this article, you will find step-by-step instructions on how to properly configure the Magento 2 CSP Reports extension. Please follow this guide after installing the plugin.
Configuring Magento 2 CSP Reports Extension
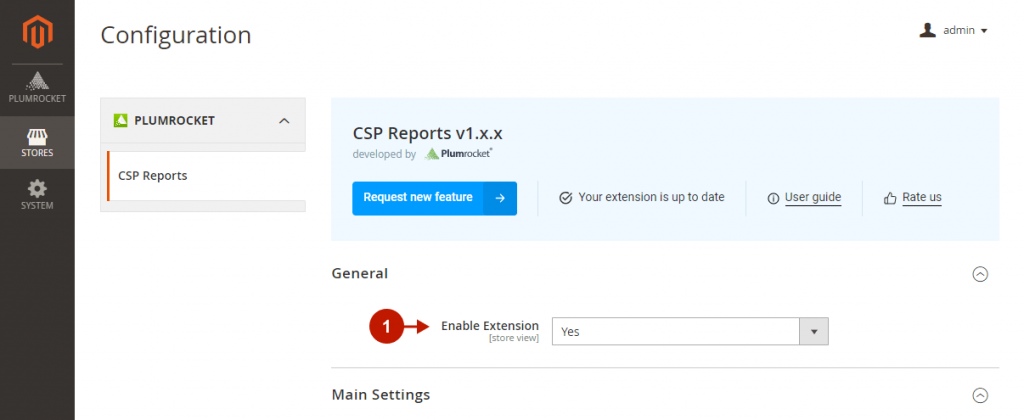
In the main Magento menu, go to the Plumrocket tab > select CSP Reports > Configuration.
General
Step-by-step guide:
- “Enable“: set the option to Yes to enable the CSP Reports extension on your Magento 2 store.

Main Settings
Step-by-step guide:
- “Storefront Mode“: this option allows you to define how Magento should respond to the Content Security Policy violations on your website’s storefront. The extension collects, stores, and sorts violations in the CSP Reports grid.
- Report Only: in this mode, Magento only reports policy violations, without taking any actions. This mode is useful for debugging and allows configuring policies to work according to your custom code.
- Restrict: in this mode, Magento reports and acts on policy violations. It’s recommended that you switch to the Restrict mode after the policies have been configured.
- “Admin Mode“: set the CSP mode to Report Only or Restrict separately for your website’s admin area.
- “Erase Outdated Reports After (days)“: specify the number of days after which the reports will be automatically removed from the CSP Reports grid. This way, resolved or outdated CSP reports will not clutter up the grid.
- Click “Save Config” to save your configurations.

CSP Reports Grid
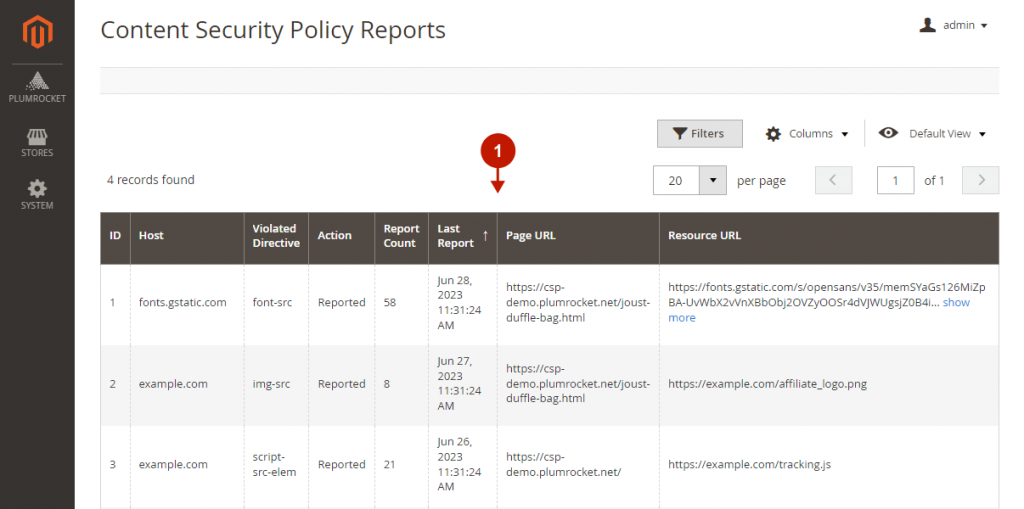
To view CSP Reports, please go to the Plumrocket tab in the main Magento menu > select CSP Reports > Reports. Alternatively, you can find reports in the System -> Tools -> CSP Reports tab.
Step-by-step guide:
- In the CSP Reports grid, you can review the following details for each potential policy violation:
- ID, Host, and Violated Directive
- Action (Reported or Restricted)
- Report Count (how many times the violation was detected)
- Last Report date
- Page URL where the violation was detected
- Resource URL that violated the policy

Was this article helpful?
