Video Tutorial: How To Create First Boutique
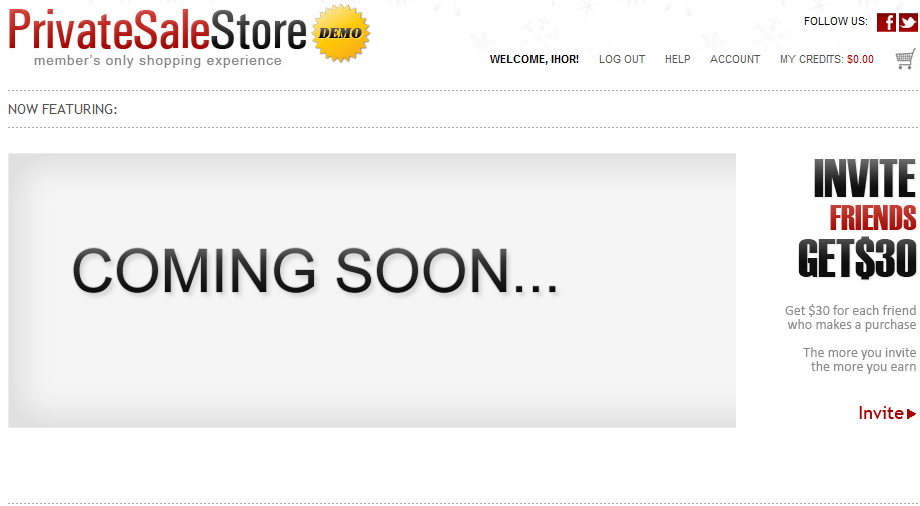
Home Page with no Store
A home page with no store looks like this:
To create a Store of products follow these guidelines
Managing Categories
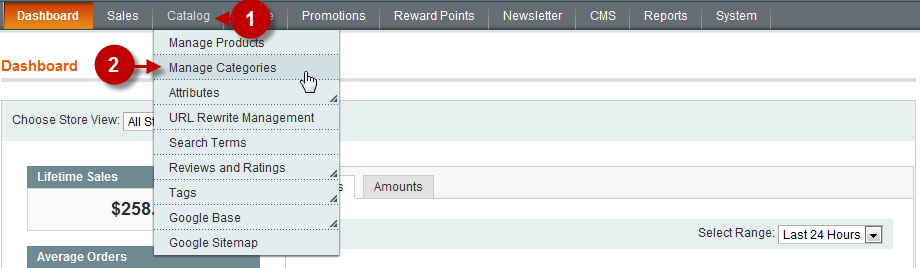
First, open the Stores and Sections Management Page as shown below
Step-by-Step action:
- Click on the “?ATALOG” tab in main menu
- Select “MANAGE CATEGORIES”
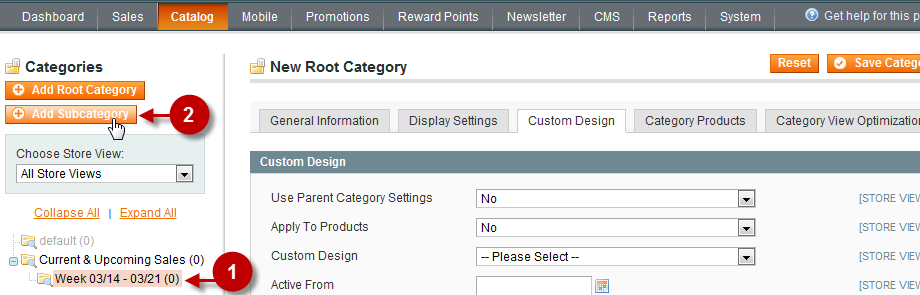
Adding a Boutique
Now, select the newly created subcategory and then press the button “ADD SUBCATEGORY”
Step-by-Step action:
- Click on the “SUBCATEGORY”, that was created in the previous step.(In our case it is the section “week 03/14-03/21”)
- Press the “ADD SUBCATEGORY” button.
General Information Tab
Fill all the required fields, following the guidelines of the previous step
Step-by-Step action:
- Choose “GENERAL” tab
- Field “Name”: Enter Boutique Name
- Field “Is Active”: Choose “YES”
- Field “Url key”: Enter Boutique name without spaces using all lower-case letters
- Field “Thumbnail Image”: Choose Boutique logo.
- Field “Description”: Enter Boutique bio
- Field “Image”: The image of boutique on website main page
- Field “Include in Navigation Menu”: Choose “YES”

Important Information:
The images used in our script vary in sizes, depending on the website design (template). Still, to avoid possible problems we suggest choosing a definite image format for every website.
For instance, in our Demo Store we used the following parameters:
- Recommended Boutique Logo size: 250?100px.
- Recommended Home Page Boutique Banner size: 910?275px.
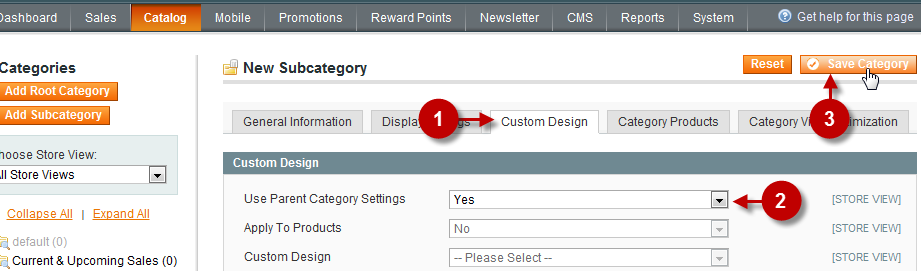
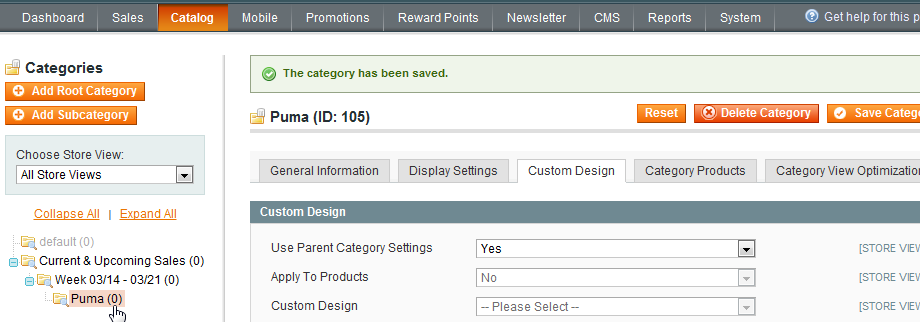
Custom Design Tab
Step-by-Step action:
- Move to tab “CUSTOM DESIGN”
- Field “Use Parent Category Settings”: Choose “YES”
- Press the “SAVE CATEGORY” button
A New boutique added to admin panel
Now You will see new boutique in the left list
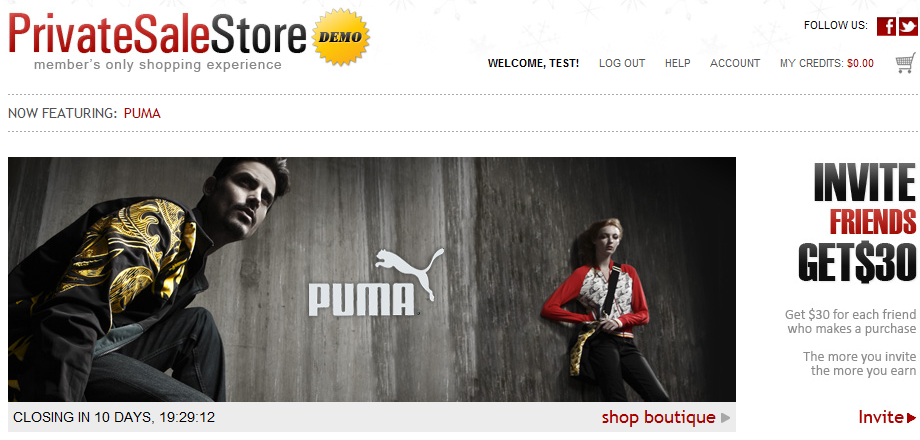
View the New boutique on the front page
Now You will see new boutique on the website front page
Next Step > Step 6: Adding products to boutique