Previously you selected the Mailing List where all new subscribers will be added.
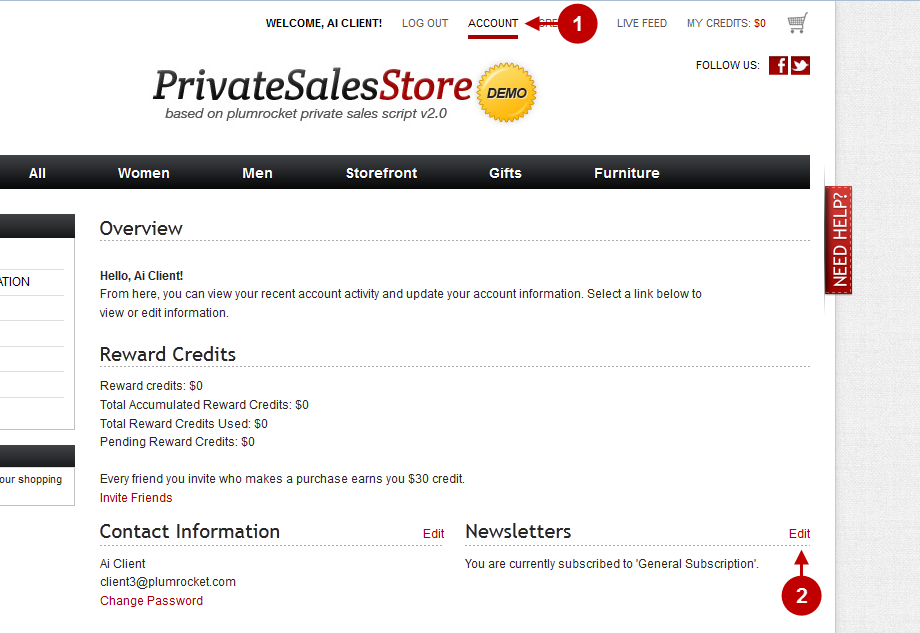
A subscriber will be added to the list after he performs the following actions in the front-end as shown below. First, a customer should open his account page and select Newsletters editing there.
Step-by-Step action:
- Select “Account” on the top on the menu
- Select “Edit” in order to edit newsletters
Then, a customer must subscribe and save the changes.
Step-by-Step action:
- Press here to subscribe or select a separate list
- Press “Save” to save the changes

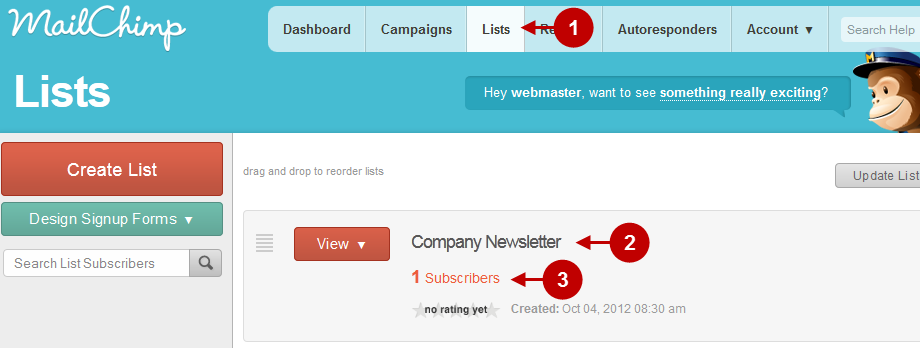
Then, the customer will be added to the subscribers list in the MailChimp extension:
Step-by-Step action:
- Click on “Lists” tab to see the list
- This is the list chosen by your customer in the front-end
- Since it is a new list, there is only one subscriber in it
Was this article helpful?