Activating MailChimp Extension
In order to access the MailChimp extension configuration page in Magento log into the admin area and follow the instructions below.
Step-by-Step action:
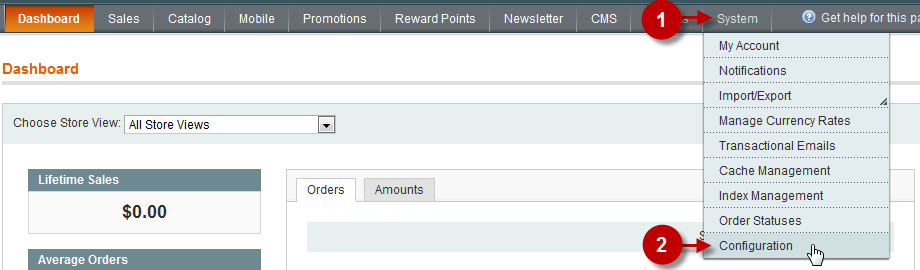
- Press the “System” tab in the main menu of Magento.
- Choose “Configuration”.
To activate and connect your MailChimp account and Private Sales Script follow these steps:
Detailed description:
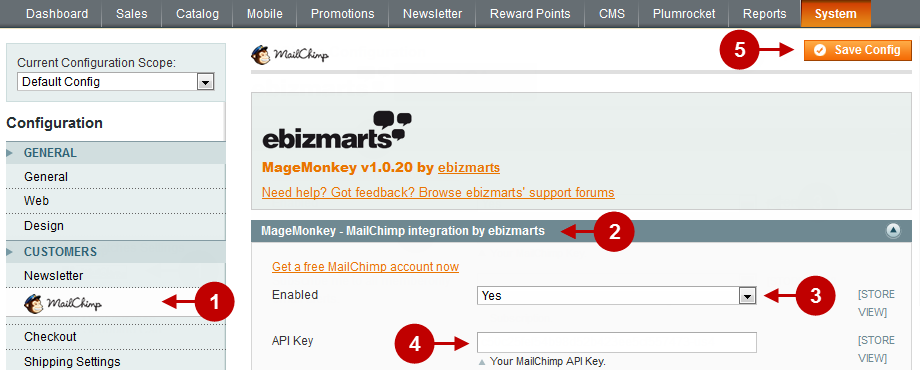
- Select the corresponding tab in the “Customers” tab to access MailChimp configuration page.
- Move to the tab “MageMonkey – MailChimp integration by ebizmarts”.
- Field “Enabled”: Set “YES” to activate module.
- Field “API Key”: Enter your API key which you can get in the Account section of MailChimp. This will enable the connection with your Mailchimp account in Magento.
- Press “Save Config” button.
Mailing List
If you followed the previous steps carefully, after the extension is activated you will be able to select the mail list that you have previously created in Private Sales v.2.0 Step 1: Creating MailChimp list
Important Information:
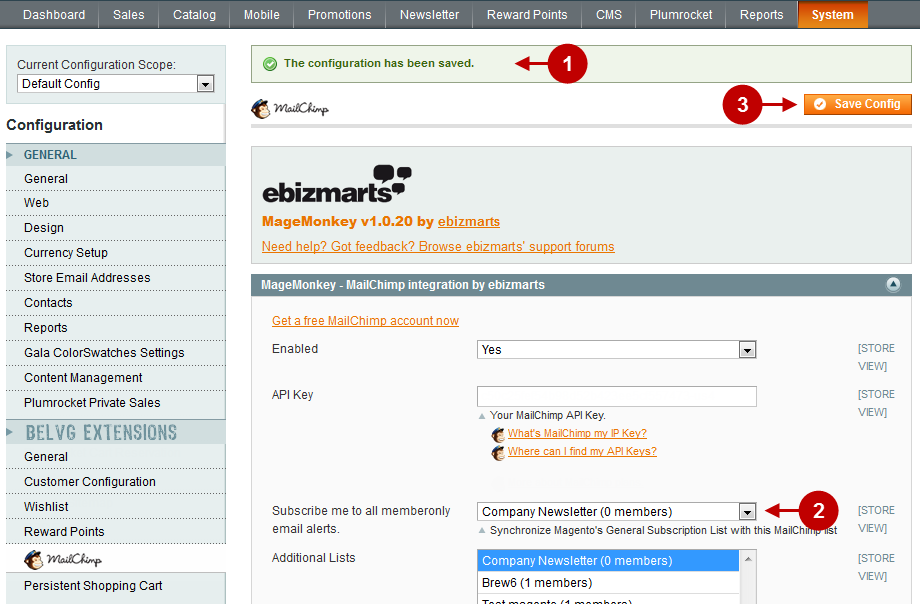
To avoid any problems with mailing, make sure the default settings look like those in the screenshot below.
Step-by-Step action:
- Successful message.
- Select the Mail list from the drop-down menu. All the new subscribers will be added to this list on default. For more details, read the next step.
- Press “Save Config” button.
Next Step > Private Sales v.2.0 Step 3: Synchronizing subscribers list with MailChimp
Was this article helpful?