To launch the store you will have to create a SALE SECTION first.
SALE SECTION is used to group subcategories or several stores according to various criteria, such as their relevance in a particular time period.
Each store belongs to a definite category or subcategory which allows you to schedule the work of different boutiques by setting different periods of activity for each subcategory separately.
Follow these steps to create your first boutique, organize the products and understand the basic rules of creating the structure of categories and stores that will meet your needs.
Video Tutorial: How to Create a Sale Section
Managing Categories
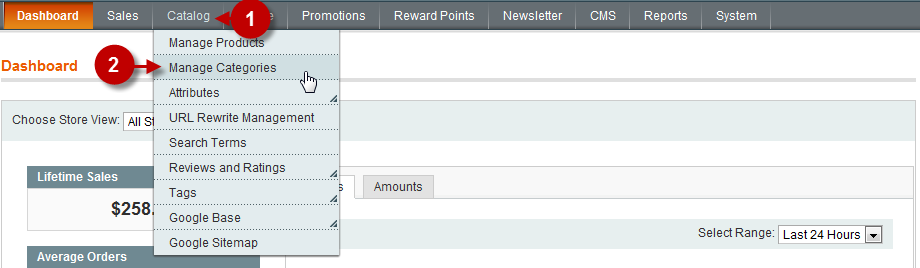
First, open the Categories Management page as shown below
Step-by-Step action:
- Click on the “?ATALOG” tab in main menu
- Select “MANAGE CATEGORIES”
Creating a Root Category
Step-by-Step action:
- Press the “ADD ROOT CATEGORY” button

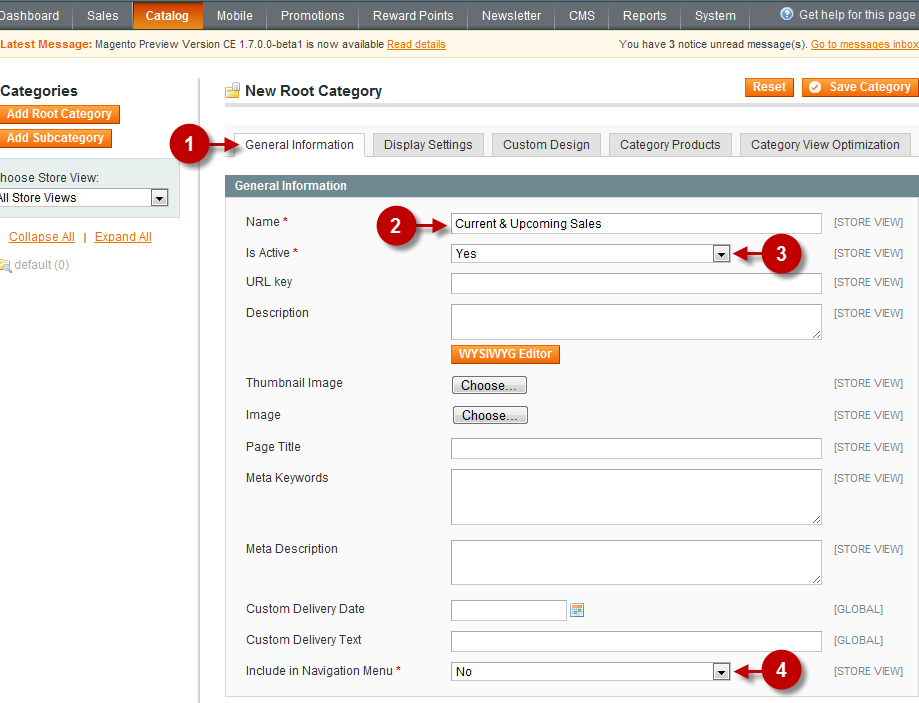
General Information Tab
Fill all required fields for this tab
Step-by-Step action:
- Choose “GENERAL” tab
- Field “Name”: Type the name of the category; for example, “Current & Upcoming Sales”
- Field “Is Active”: set “YES”
- Field “Include in Navigation Menu”: set ‘NO’
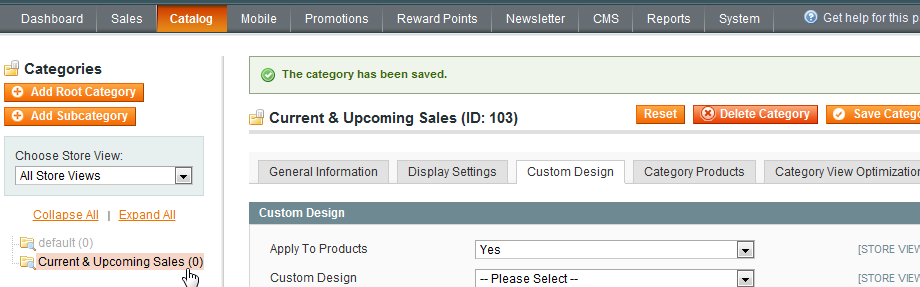
Custom Design Tab
Move to tab “Custom Design”, fill all the required fields and save.
Step-by-Step action:
- Choose tab “Custom Design”
- Field “Apply To Products”: set “YES”
- Press the “SAVE CATEGORY” button

Succesfull Message
If you followed the steps properly you will see a Successful Message and a new Sale Section on the left side
Additional sale section (Optional)
Previously, you have learned how to create a Sale Section that will contain both active and planned boutiques. For your convenience we also suggest creating one more sale section to collect the boutiques that are no longer active.
Important Information:
It is not obligatory to create a sale section for non-active boutiques, but this will make your operation of the system much easier.
Video Tutorial: How to Create Additional Sale Section
Creating a Category
Step-by-Step action:
- Press the “ADD ROOT CATEGORY” button
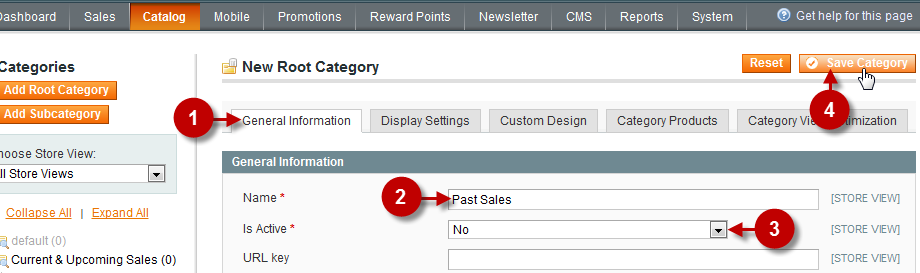
Information Tab for Additional Category
Fill all required fields for this tab
Step-by-Step action:
- Choose “GENERAL” tab
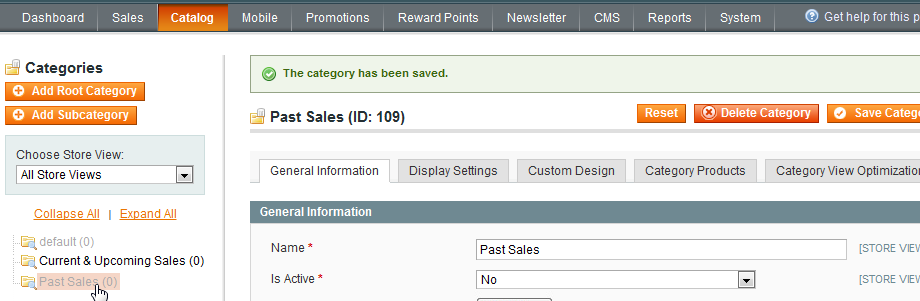
- Field “Name”: Type the name of the category; for example, “Past Sales”
- Field “Is Active”: set “NO”
- Press “SAVE CATEGORY” button
Succesfull message
If you followed the steps properly you will see a Successful Message and a new Sale Section on the left side
Next Step > Step 3: Organizing boutiques by date of sales