Maintenance mode is used when you need to perform maintenance, update or change the configuration of your site. While the maintenance mode is enabled, the website will be unavailable to users.
In this tutorial, we will provide clear steps on how to enable and disable maintenance mode in Magento 2 and how to improve the maintenance page for a better user experience.
How to Enable Maintenance Mode in Magento 2
Magento 2 understands whether maintenance mode is enabled using this file – [magento_home_directory]/var/.maintenance.flag
The presence or absence of this file determines whether the site is in maintenance mode or not.
In order to enable maintenance mode in Magento 2, the .maintenance.flag file should be placed in the /var directory.
This can be done in two ways:
- Using the Magento 2 command line tool.
- By directly inserting the file with that name into the directory.
Method 1: Using Command Line (Recommended)
Magento 2 provides a simple command line interface (CLI), which helps you easily manage maintenance mode. In order to use the built-in CLI commands, go to the root directory of the Magento 2 application. Use the following command to enable Magento 2 maintenance mode:
php bin/magento maintenance:enable [--ip=<ip address> ... --ip=<ip address>] | [ip=none]How to Allow IP Addresses in Magento 2 Maintenance Mode
- You can allow IP addresses while enabling maintenance mode with the command line. It has an additional option –ip=<ip address>, which specifies the IP addresses that need to be excluded from maintenance mode. By default, ip=none.
For example, to enable maintenance mode in Magento 2 for all users except the developer, who has an IP address of 192.168.0.0, the following command should be executed:
php bin/magento maintenance:enable --ip=192.168.0.0- If maintenance mode is already enabled and you want to allow additional IP addresses, you should use this command:
bin/magento maintenance:allow-ips <ip address> .. <ip address> [--none]The <ip address> .. <ip address> syntax is an optional space-delimited list of IP addresses to exempt.
The –none option clears the list.
Method 2: Editing the index.php File
You can make changes to the file system of the application either using the FTP or SSH.
Option 1: File Transfer Protocol (FTP) is suitable if you have an FTP account to work with the server on which the store is located, as well as an FTP client that you will use to remotely connect to the server. One of the most popular and free FTP clients is FileZilla.
Step-by-step guide:
- Login to your FTP account and connect to the server in your FTP client.
- Copy the .maintenance.flag file to the [magento_home_directory]/var/ directory, where [magento_home_directory] is the directory of the Magento application.
Option 2: Secure Shell (SSH) is a simpler option because you can quickly connect to a remote server with Magento 2 from the terminal without downloading additional programs. In this case, you need to have SSH credentials to connect to the server.
Step-by-step guide:
- Login to the server by executing this command in the terminal: ssh [username]@[host_ip_address] . Then, provide the password, and if the credentials are valid, the connection to the remote server will be established.
- Go to the required directory using the following command:
cd [magento_home_directory]/var/ - Create the required file with the following command:
touch .maintenance.flag
How to Disable Maintenance Mode in Magento 2
You can disable maintenance mode in the same way as you enable it. For the command line tool, use the following command to disable maintenance mode in Magento 2:
php bin/magento maintenance:disableAlternatively, if you want to disable maintenance mode through FTP or SSH, delete the file [magento_home_directory]/var/.maintenance.flag .
How to Check the Status of Magento 2 Maintenance Mode
To check the status of maintenance mode on your store, you use the following command:
php bin/magento maintenance:statusHow to Manage & Improve Magento 2 Maintenance Page
When you enable Magento 2 maintenance mode, users who try to access your store will see the following message:

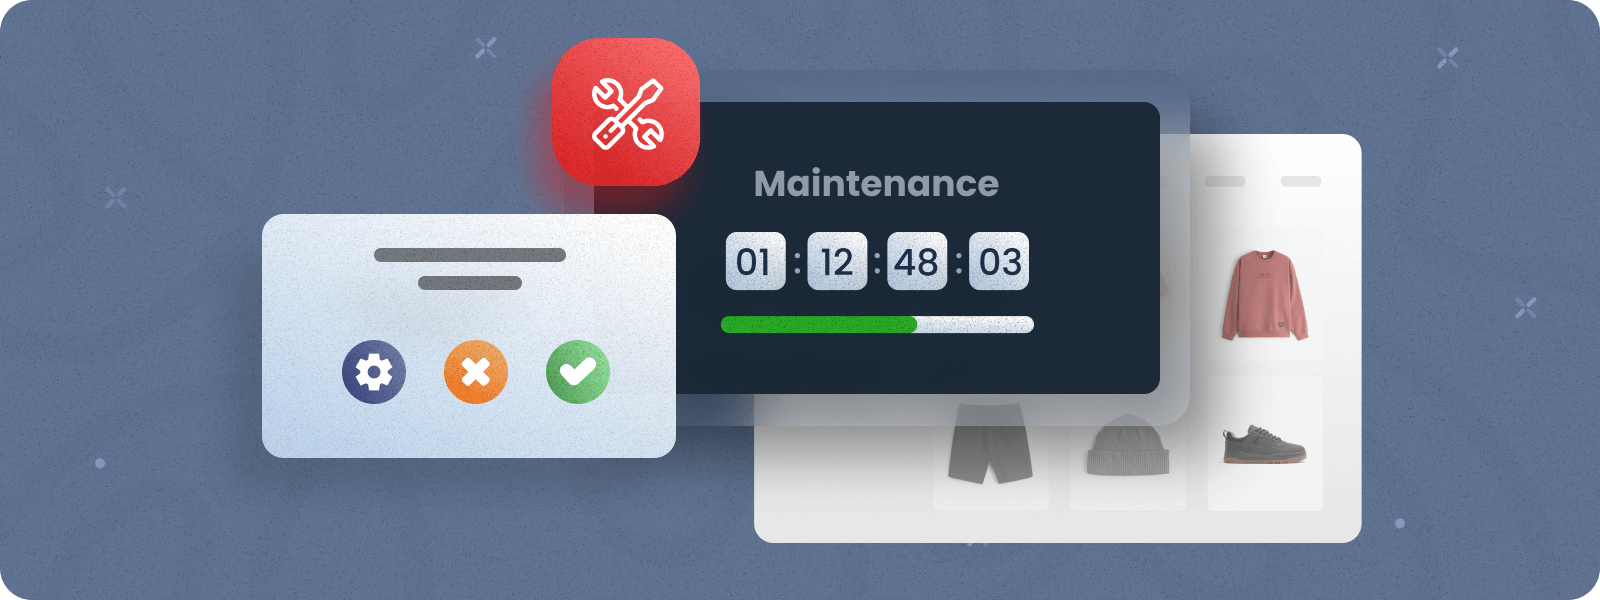
This message is confusing for customers who come to make a purchase. They don’t understand why the site is down or when it will be back up. The better option is to make this page visually appealing, with a clear message and a countdown timer showing how long until the site is operational. This would increase the likelihood of users waiting and returning to make a purchase. Here’s what it might look like:

Our Coming Soon & Maintenance Page Extension will improve this page and allow you to easily manage maintenance mode on your site directly from the admin panel. With the extension, you will be able to:
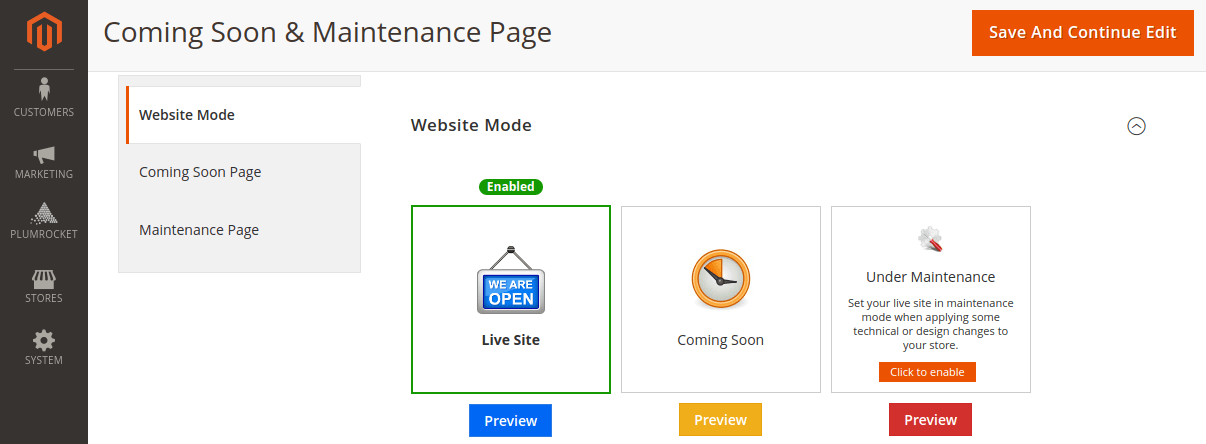
Easily Enable Magento 2 Maintenance Mode: In order to enable maintenance mode, go to the “Website Mode” tab in the extension configurations, press “Click to enable” button under the Maintenance mode, and save the settings.
Configure & Preview Your Maintenance Page: Admin can easily customize the content on the maintenance page and preview it without switching to the maintenance mode. It can be done from the backend using the “Preview” button.
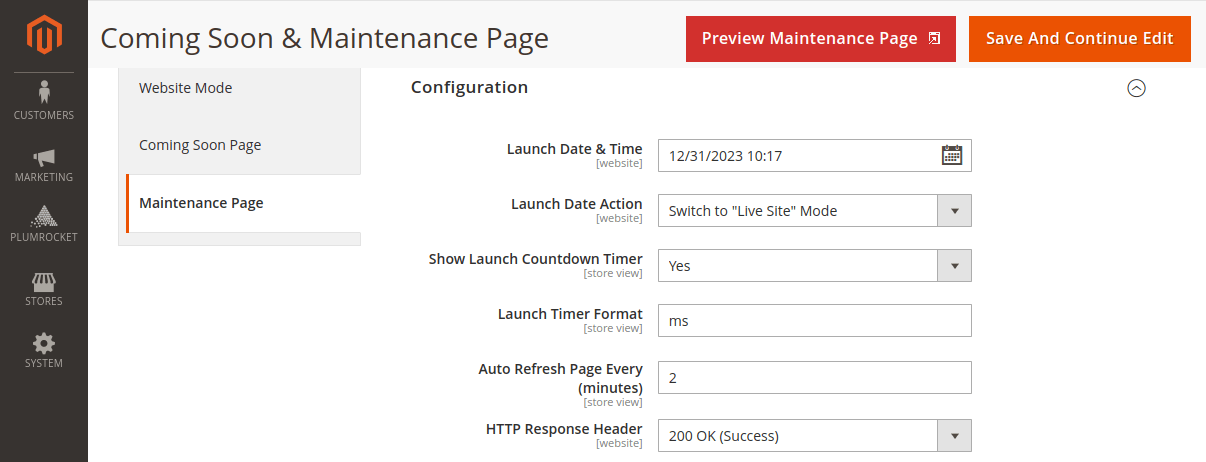
Under the Configuration section, you can set the launch date, enable the countdown timer, set the page to auto refresh after the specified time, and specify the HTTP Response Header.
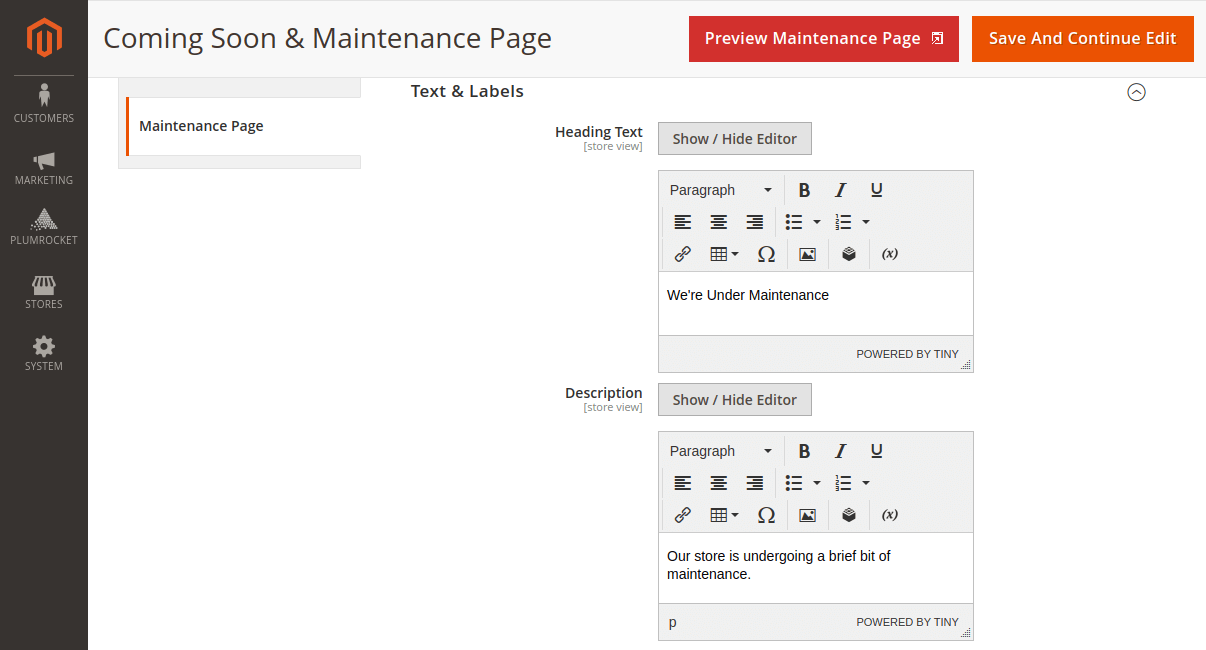
Under the “Text & Labels” tab, you can configure the message the user will see on the maintenance page.
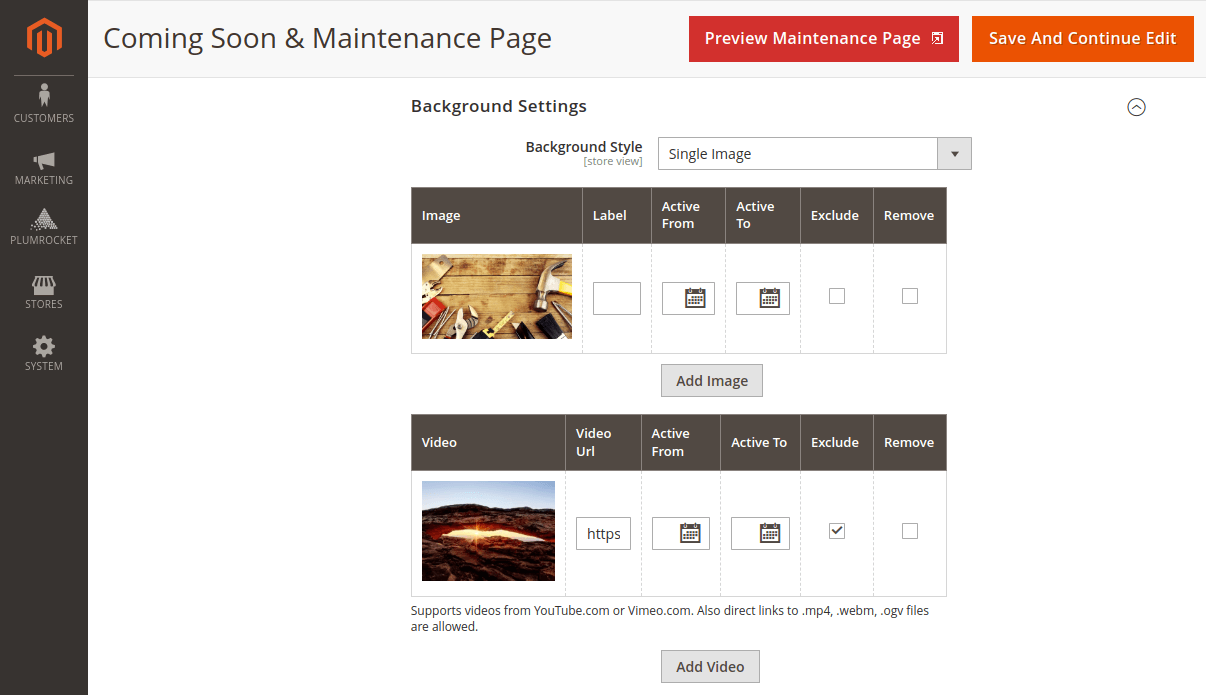
The “Background Settings” tab allows you to set the background for the maintenance page (photo or video).
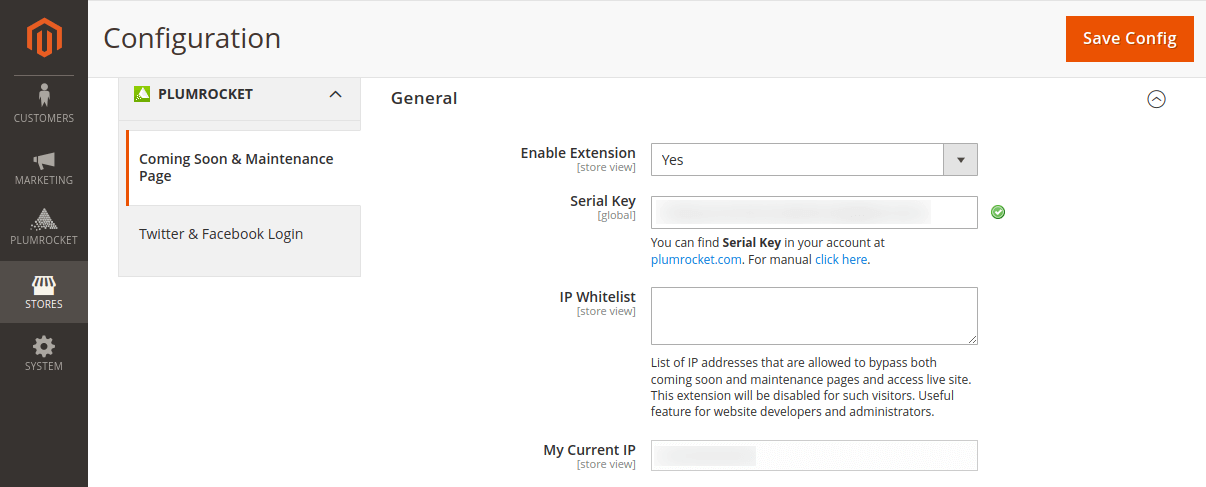
On the module configuration page in the “General” tab, the administrator can whitelist IP addresses that will bypass the Maintenance and Coming Soon pages.
Set Up Coming Soon Page: In the same way, you can set up a Coming Soon page in this module that will be shown for users before entering the main website. Here, you can promote your new products or special events, sign users in with social networks, display a countdown timer, and much more.
Optimize Your Maintenance Page for More Conversions!
Easily manage Magento 2 maintenance mode and enhance the maintenance page for customers to reduce frustration and generate more leads.