Here you will learn how to install Private Sales Script ver.2.0 with sample data.
Important Information:
First of all make sure your system requirements meet the ones necessary for the correct functioning of our Magento Private Sales Script. For more details on system requirements read Magento system requirements.
Video Tutorial: How to install Magento Private Sales Script 2.0
Plumrocket Extension Installation with sample data
1. Before you start working with this Magento private sales extension you will have to get a database. If you don’t have one, ?reate a new Magento database using your phpmyadmin or from the console (for example “mydatabase”).
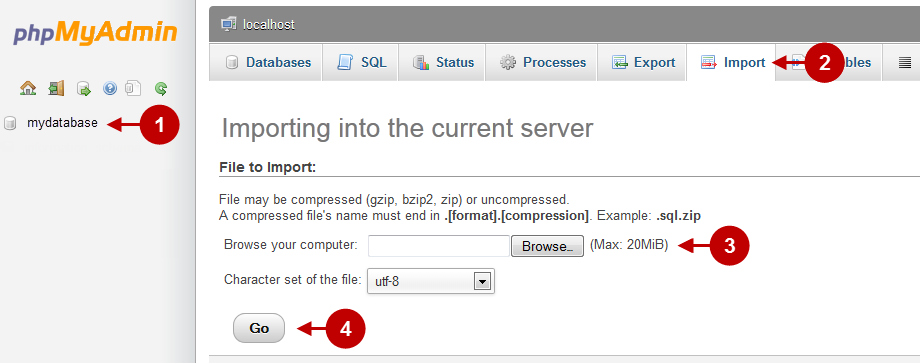
2. Import SQL DUMP “Sample_Data/Config.sql” to your Magento database (“mydatabase”). You can import sql dump files using phpmyadmin or the console. Below you will see how to do it using a phpmyadmin.
Step-by-Step action:
- Select your database.
- Press “Import”.
- Press “Browse” and select the file Config.sql, that is located in the subcategory Sample_Data of the category private-sale-script-v20.
- Press “Go”.
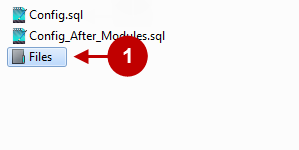
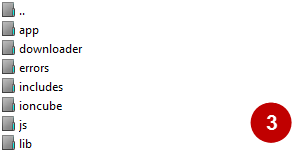
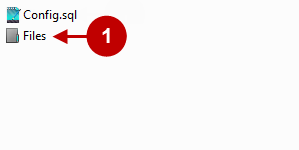
3. Copy the Sample Data files to your Magento root directory using the FTP File Manager and recursively set permission of directory “media” to 777.
Detailed description:
- This is the catalog of files.
- This is your client side. You will see the catalog of files.
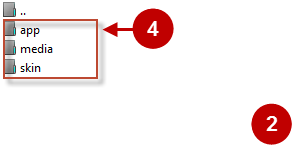
- This is your root directory on server side. This is where the files should be uploaded.
- All the files must be uploaded to the server.
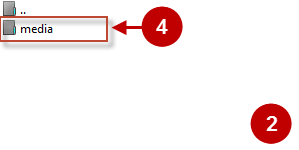
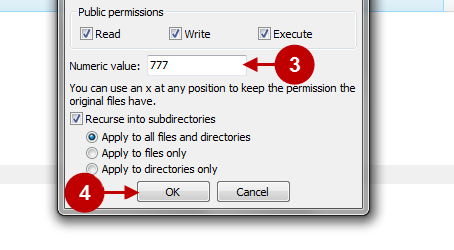
Step-by-Step action:
- After all the files are uploaded, select the subcategory “media”.
- Set file permissions for the subcategory.
- Set file permissions “777”, i.e. allow to write, read and execute.
- Press “??”.

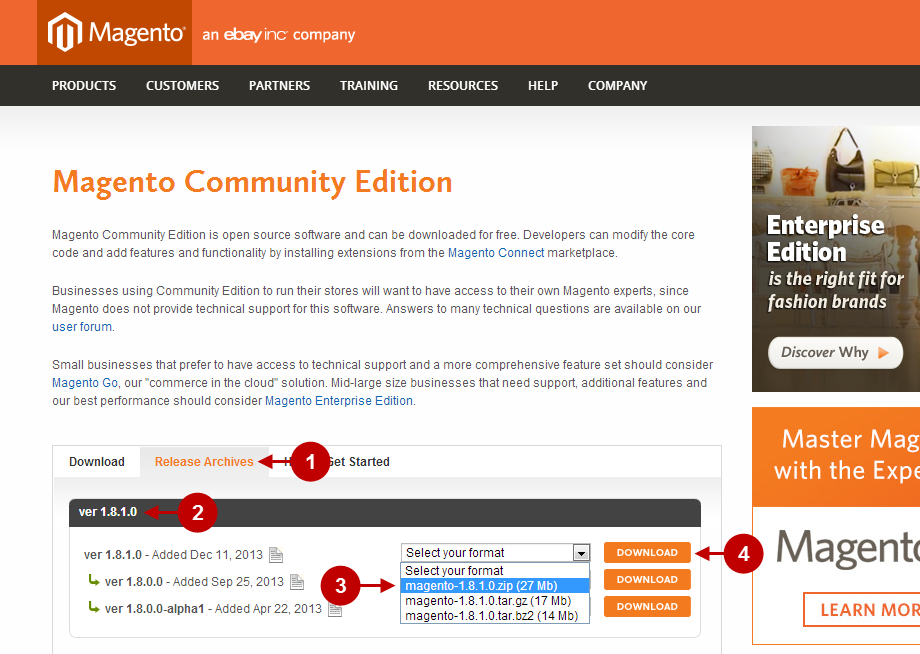
4. You will have to download Magento. To do this, go to http://www.magentocommerce.com/download and follow the instructions below:
Step-by-Step action:
- Click on “Release Archives”.
- Select version 1.8.1.0.
- Select the type of archive.
- Press “Download” to download Magento Community Edition ver 1.8.1.0.
5. Install your Magento store, use your database “mystoredatabase” (http://www.magentocommerce.com/knowledge-base/entry/magento-installation-guide/).
Important Information:
In order for the sample data to show up properly after a successful Magento installation with sample data, make sure you do not set a custom prefix during the Magento installation. The sample data contains no database prefixes and if you set one during installation, the sample data will not be displayed.You will either have to change all tables in the sample data sql or complete the Magento installation without setting a db prefix.
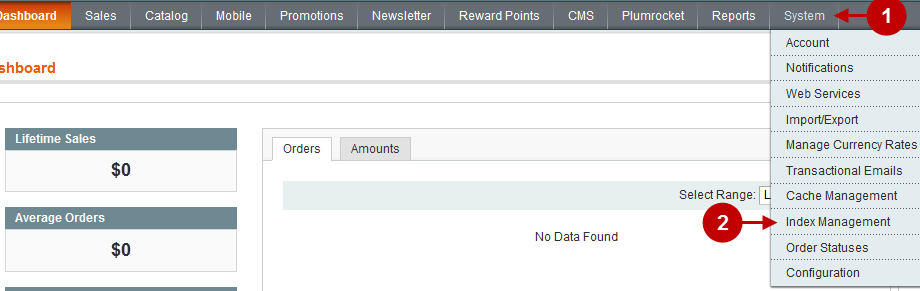
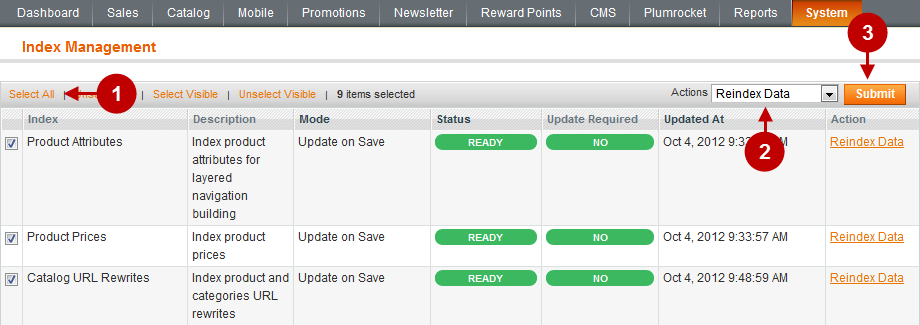
6. Reindex Data. Follow the steps described below.
Step-by-Step action:
- Go to Admin Panel >> System.
- Select the tab “Index Management” in the menu.
Step-by-Step action:
- Press “Select All”.
- Select “Reindex Data” from the drop-down menu
- Press “Submit”.
7. Install Main Magento Extensions in this order:
- Private Sales Magento Extension v2.0 [Private Sales Installation];
- Special Settings Magento Extension v1.0 [Special Settings Installation];
- URL Manager Magento Extension v1.0 [URL Manager Installation].
8. Import SQL DUMP “Sample_Data/Config_After_Modules.sql” to your Magento database. (It’s your sample data for extensions). This file is located in the subcategory Sample_Data of folder “private-sale-script-v20”. If you use phpmyadmin, you can repeat the instructions described in Step 2.
9. Install other Magento Extensions (To learn more about the features and how to configure the extensions, read the sections “Installation” and “Configuration” of all the extensions here: /docs/magento-extensions).
10. Order and install following Magento extensions from Plumrocket Inc. (not required but suggested for a better user experience):
a) Free Plumrocket Twitter & Facebook Login Magento Extension (https://plumrocket.com/magento-1-twitter-facebook-login) Or, if you want to have more than 50 social networks logins: b) Plumrocket Social Login Pro Magento Extension (https://plumrocket.com/magento-1-social-login-pro)
11. Copy the Theme files to your Magento root directory using the FTP File Manager and recursively set permission of directory “media” to 777.
Detailed description:
- This is the catalog of files.
- This is your client side. You will see the catalog of files.
- This is your root directory on server side. This is where the files should be uploaded.
- All the files must be uploaded to the server.
Step-by-Step action:
- After all the files are uploaded, select the subcategory “media”.
- Set file permissions for the subcategory.
- Set file permissions “777”, i.e. allow to write, read and execute.
- Press “??”.
12. Import SQL DUMP “Theme/Config.sql” to your Magento database (“mydatabase”). If you use phpmyadmin, follow the instructions below:
Important Information:
If you don’t have the “Config.sql” file, skip this step.
Step-by-Step action:
- Select your database.
- Press “Import”.
- Press “Browse” and select the file Config.sql, that is located in the subcategory Theme of the category private-sale-script-v20.
- Press “Go”.
13. In order to enable the theme of your membership site, follow the instructions below.
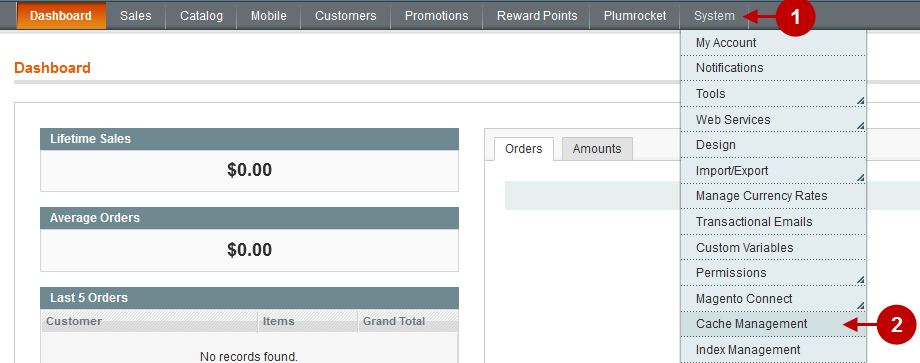
First, you will have to clear Magento cache. To do this follow the instructions below:
Step-by-Step action:
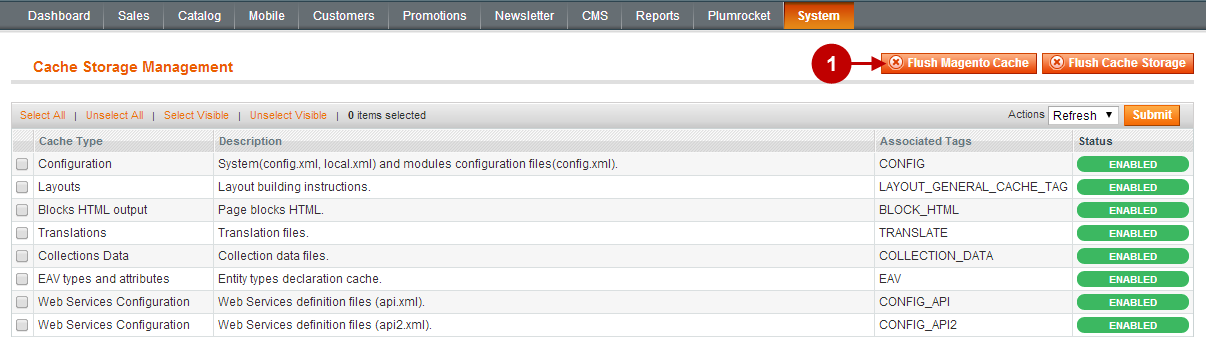
- Go to the Admin Panel >> System.
- Click on Cache Management.
Step-by-Step action:
- Press the “Flush Magento Cache” button.
Sign-out and Sign-in back to Admin Panel. After you have successfully cleared the cache follow the instructions below to activate the theme:
Step-by-Step action:
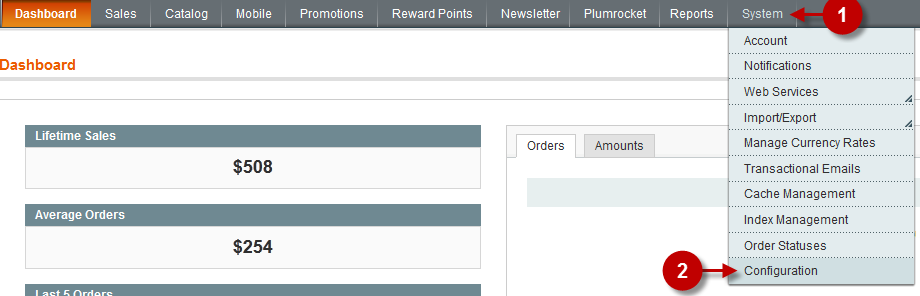
- Select “System” in the Magento Admin Panel.
- Select “Configuration”.
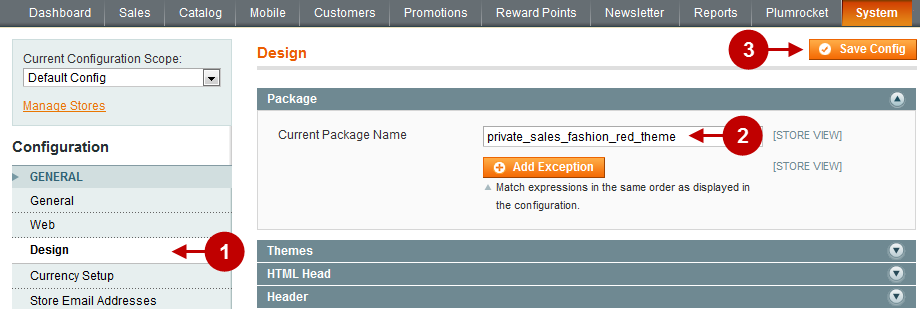
Step-by-Step action:
- Select “Design”.
- Select the tab “Package”.
- Option “Current Package Name”: Set the title of the theme you want to install (For instance, “private_sales_fashion_red_theme” or “private_sales_ocean_blue_theme”).
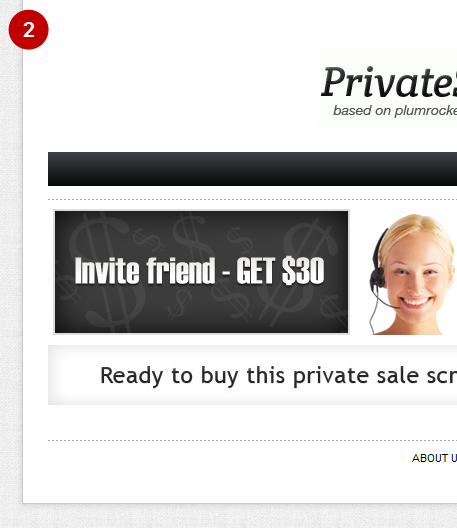
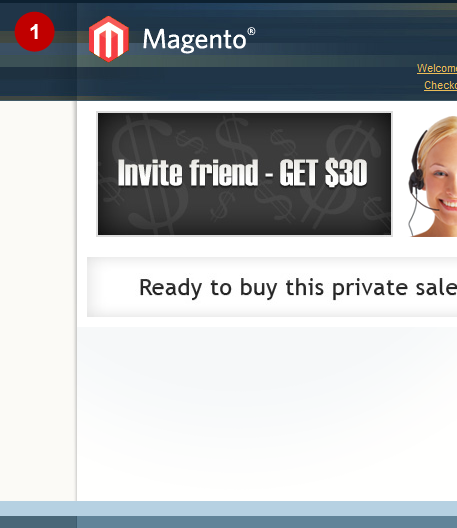
After the theme is enabled, you will see the corresponding changes on the website frontend, as shown below.
Detailed description:
- Standard Magento theme.
- New Magento theme.
Website Frontend
Website Frontend