Login to MailChimp
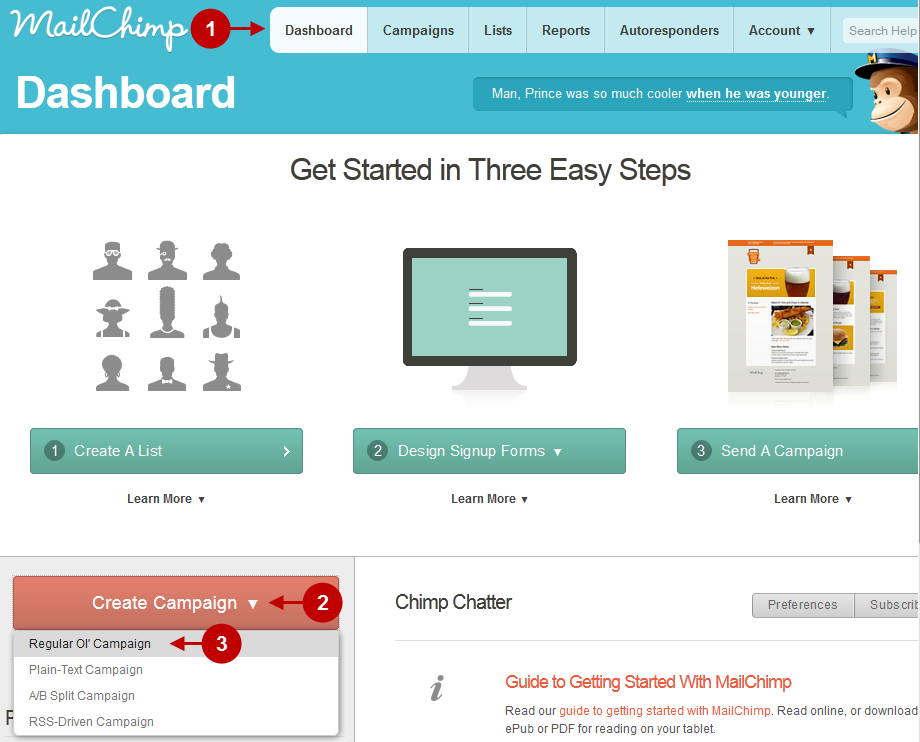
To begin the of mailing of a newsletter campaign, you should log into the MailChimp System using the login and password you provided during the account registration.
Step-by-Step action:
- Select “Dashboard”
- Click on the “CREATE CAMPAIGN” tab
- Select “REGULAR OL’ CAMPAIGN”
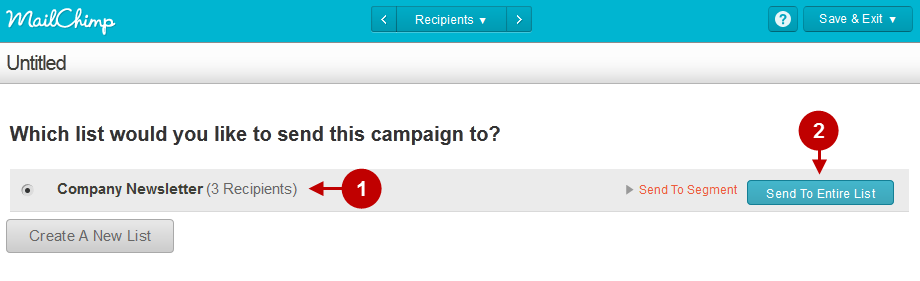
Choose the list
Step-by-Step action:
- Choose the list you would like to send this campaign to.
- Then press “Send to entire list”.
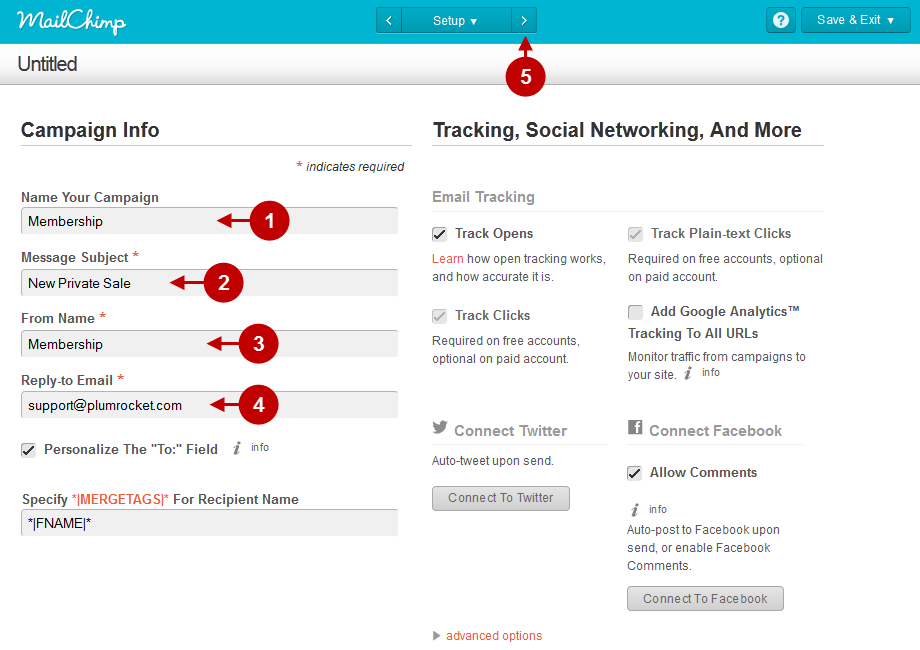
Required Fields
Detailed description:
- Field “Name your campaign”: Enter the name of your mailing campaign.
- Field “Message subject”: Enter the subject of mailing.
- Field “From Name”: Enter the sender’s name.
- Field “Reply-to e-mail” Enter the e-mail for reply.
- Then press this button to continue.
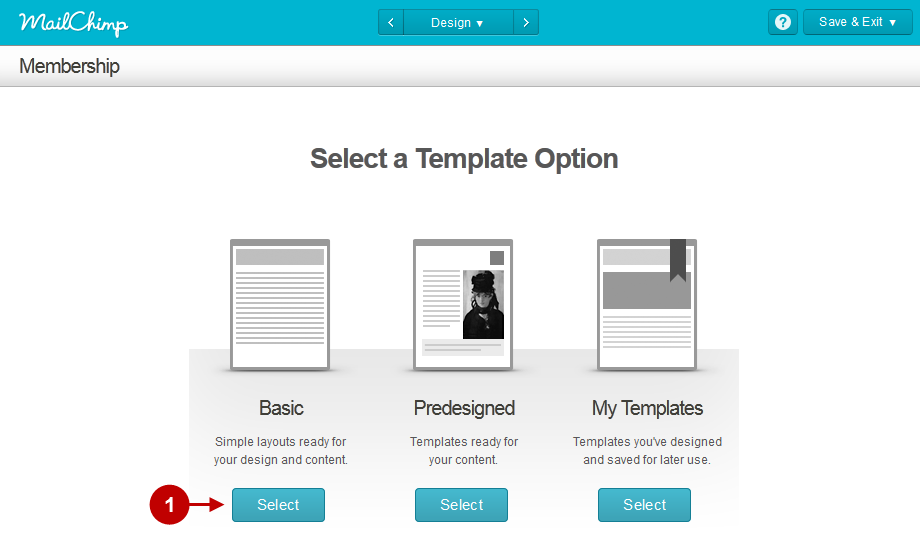
Type of Template
Step-by-Step action:
- Press “Select”: Choose the category of the template. These could be either standard templates, or designer templates.
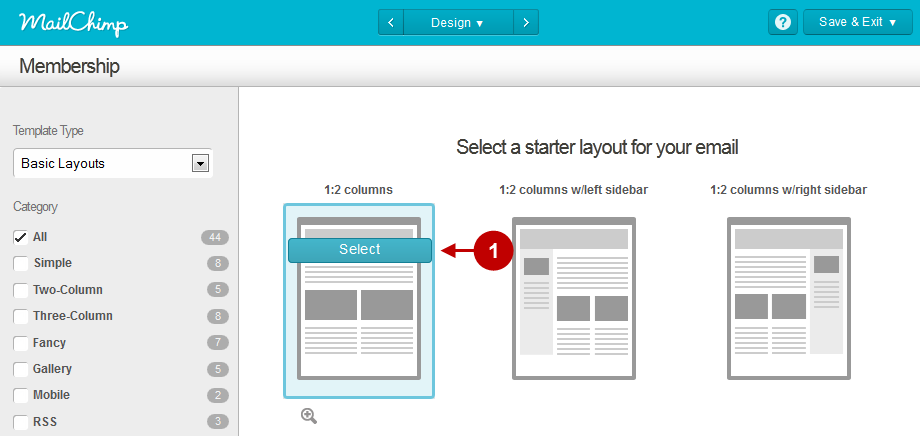
Kind of Template
Step-by-Step action:
- Press “Select”: Choose the template.
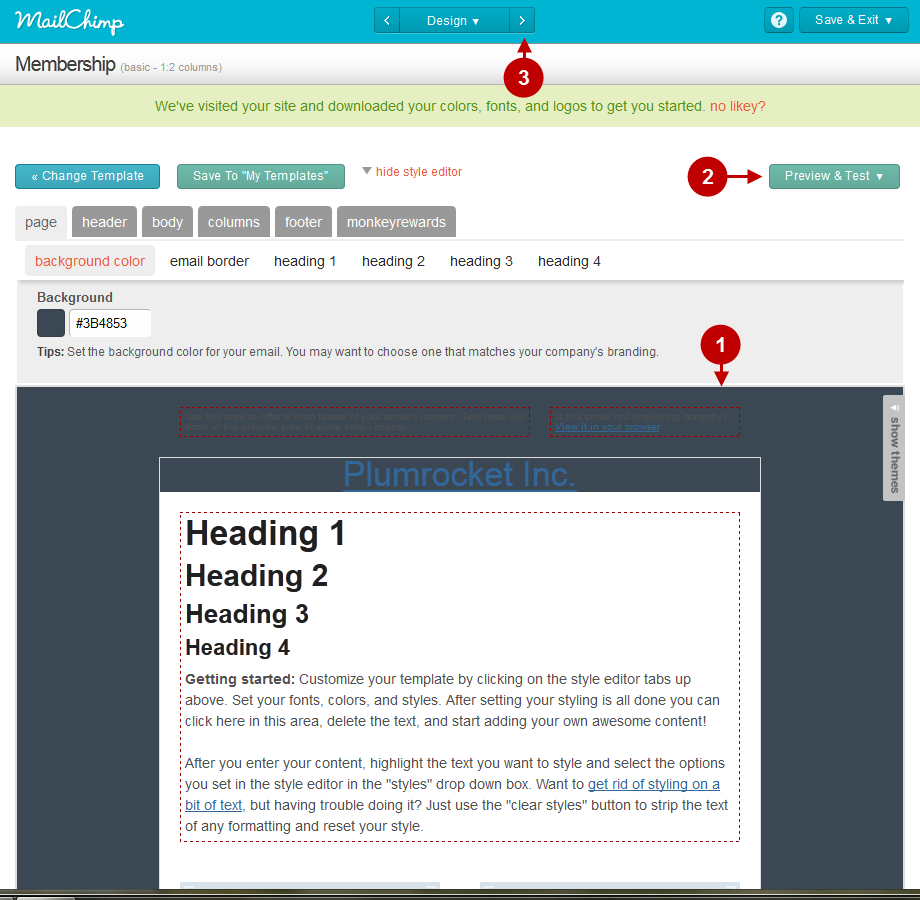
Editing a Template
You will see a template editing page, where you will be able to change the content and style of mailing message.
Step-by-Step action:
- Edit the content of the message if necessary.
- You can test or preview the template.
- Press this button to continue.
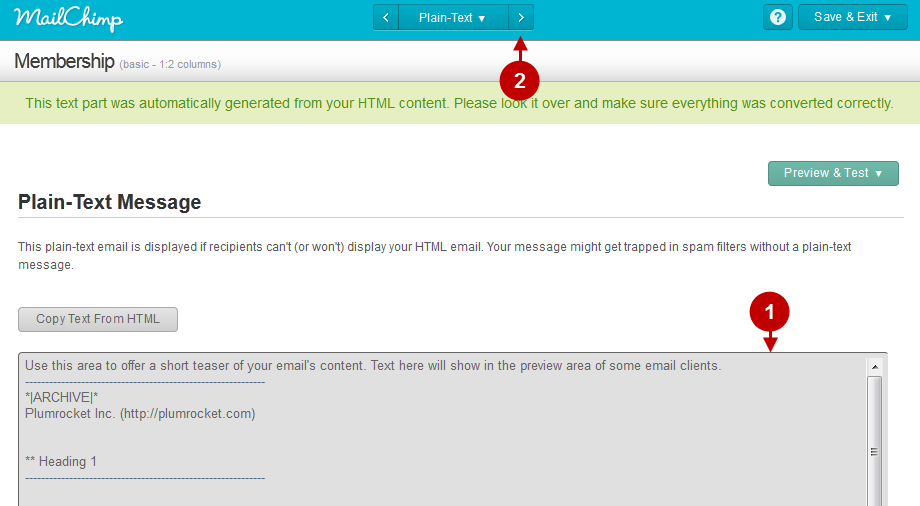
Editing a Template in Plain-Text Format
This page will let you edit the template in case the subscribers cannot receive messages in HTML-format, while only Plain-Text format is available.
Step-by-Step action:
- Edit the content of the message if necessary.
- Press this button to continue.
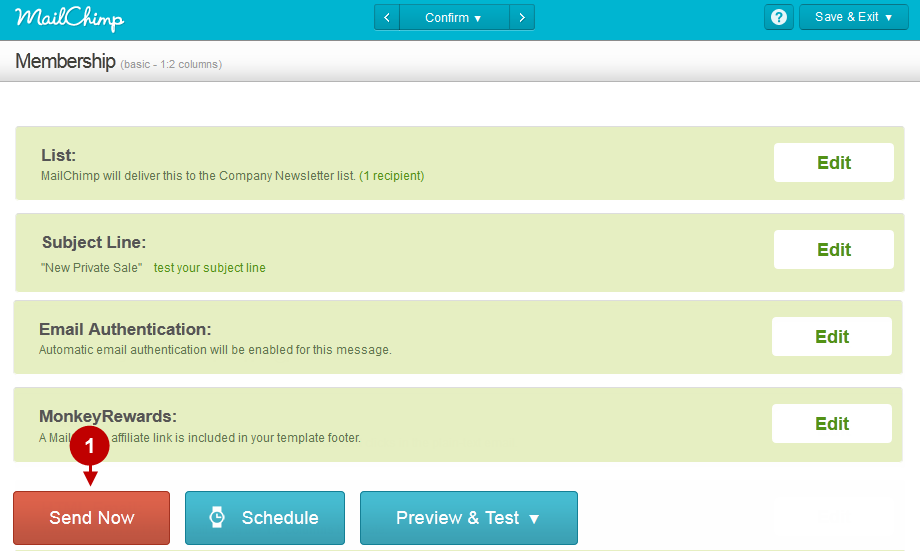
Starting Mailing
Follow the instructions below to start your email campaign.
Step-by-Step action:
- Go to the bottom of the page and press “SEND NOW”.
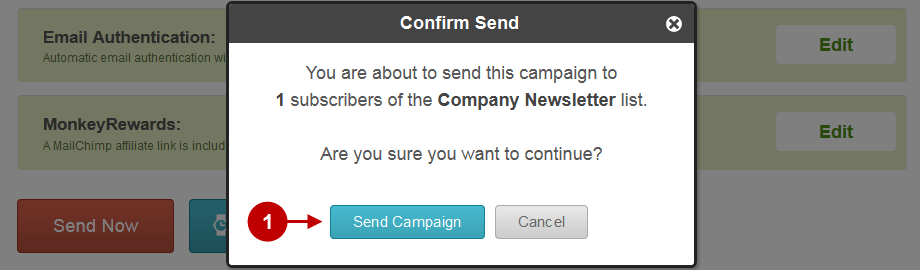
Confirmation of Mailing
This is where you must confirm the template sending to the selected list of subscribers.
Step-by-Step action:
- To confirm the launching of mailing campaign, click on “SEND CAMPAIGN”.
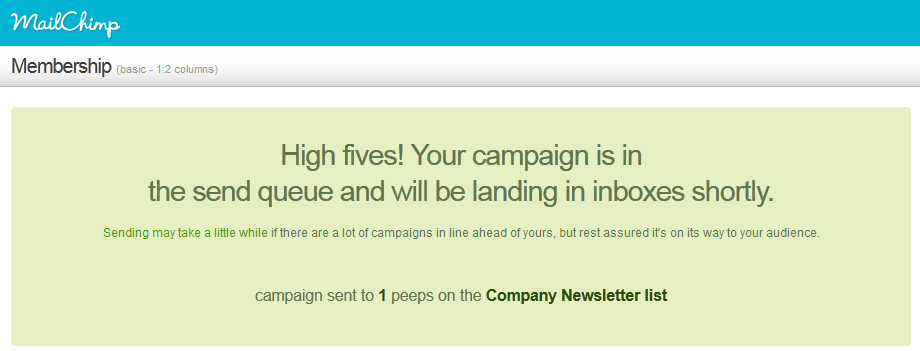
Successful Mailing
If everything was completed correctly, you will see the page confirming your mailing campaign execution.