Account activation by admin
In order to disable access to the website for the users whose account has not been yet activated by admin, the plugin Customer Activation will be used.
This plugin also allows you to manage requests to website administrator concerning user registration and account activation notifications.
Video: User registration without account activation by admin
Information:
If the option of account activation by admin is disabled in the settings, a client will be able to sign in under his username right after the registration as shown in the video below.
Video Tutorial: How to configure account activation by admin
Information:
In the video tutorial below you will see how to enable/disable the option of account activation by admin
Video: User registration and account activation by admin
Information:
If the option of account activation by admin is enabled in the settings, a client will be able to sign in under his/her username only after admin activates a user’s account in the admin dashboard, as shown in the video below.
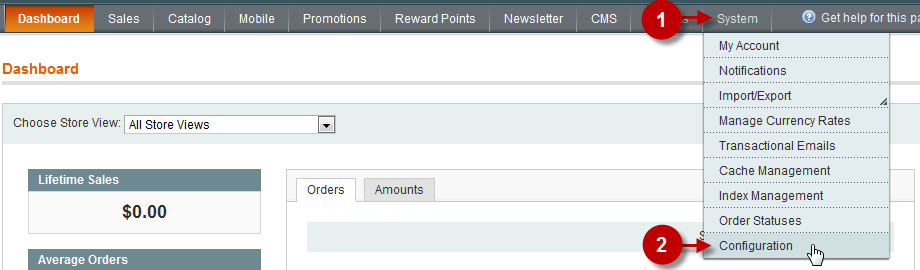
System configuration menu
Step-by-Step action:
- Press the “System” tab in the menu.
- Select “Configuration”.
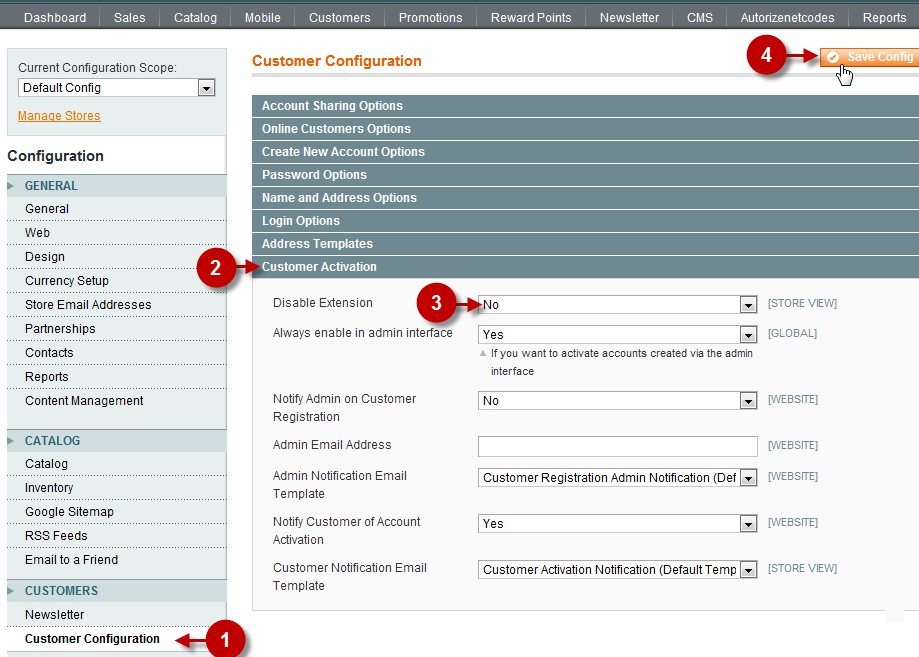
“Customer Configuration” Tab
Step-by-Step action:
- Click on the “Customer Configuration” tab in the left menu.
- Choose the “Customer Activation” block on the page.
- Field “Disable Extension”: Set “NO” – This value will enable the option of Account activation by Admin.
- Press the “Save Config” button.
Customers configuration menu
Step-by-Step action:
- Press the “Customers” tab in the menu.
- Select “Manage Customers”.

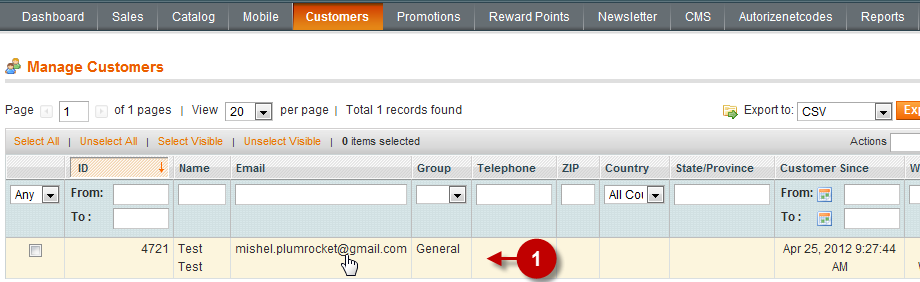
Customers list page
Step-by-Step action:
- Select the customer, whose account should be activated, from the list.
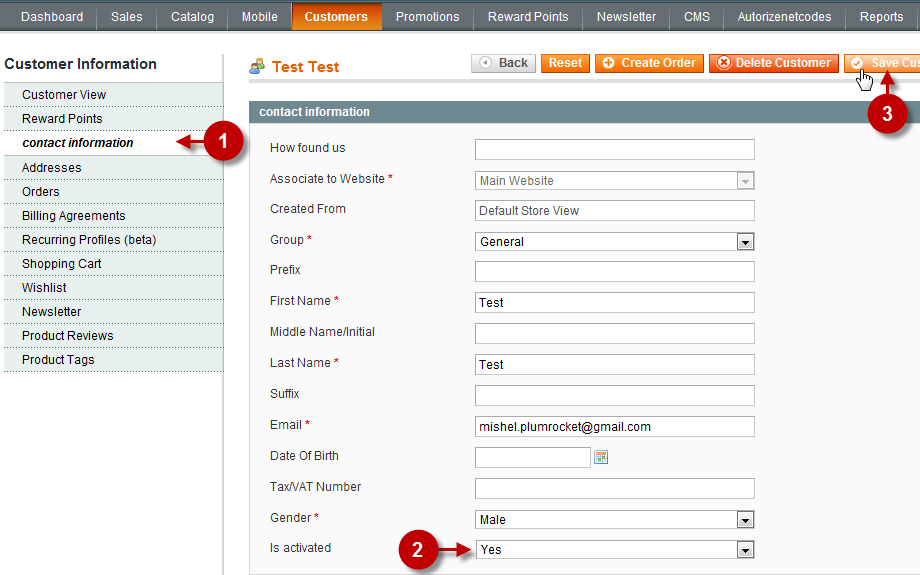
“Contact information” Tab
Step-by-Step action:
- Click on the “CONTACT INFORMATION” tab in the left menu.
- Field “Is activated”: Set “YES”.
- Press “Save Config” button.
Succesfull Message
Information:
If you have followed the steps correctly you will see a “Successful Message” – “The customer has been saved”.
